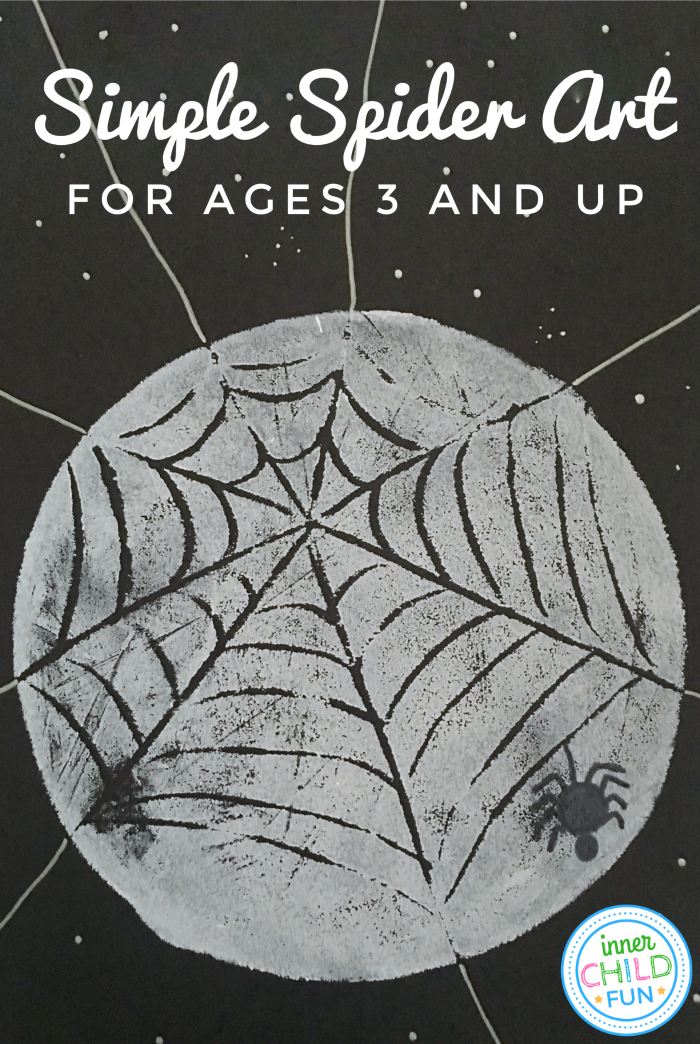
This spider art project for kids is quick and easy to do! Kids can enjoy the process of making a simple stamp for block printing, and later adding details to their designs. Great fine-motor practice for little ones!
To make this spider art project, you will need:
- Foam Plate – easily found at a dollar store.
- Block Printing Ink – We love this starter set that contains colors for several other projects too.
- Brayer – for rolling out the block printing ink.
- Black Card Stock Paper
- Scissors
- Silver Pen – a fine-point silver pen works best for this.
- Dull Pencil
Step 1 – Make the Stamp
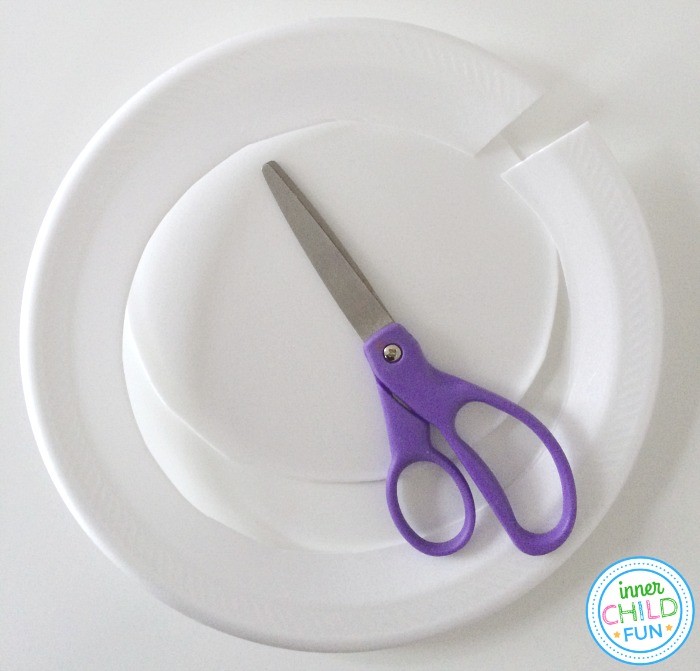
To begin, use scissors to remove the rim from a foam plate.
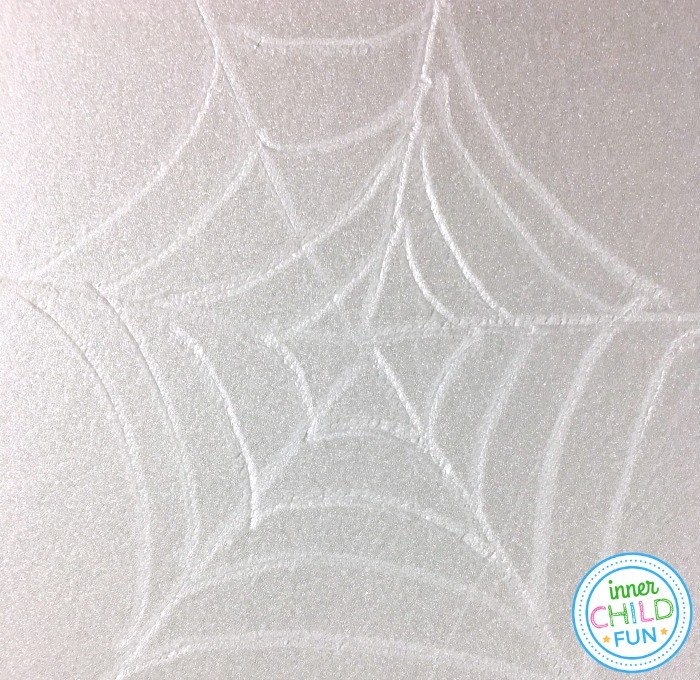
Next, use a dull pencil to engrave the spider web design onto the foam plate. For best results, be sure to use firm pressure.
Step 2 – Make the Print
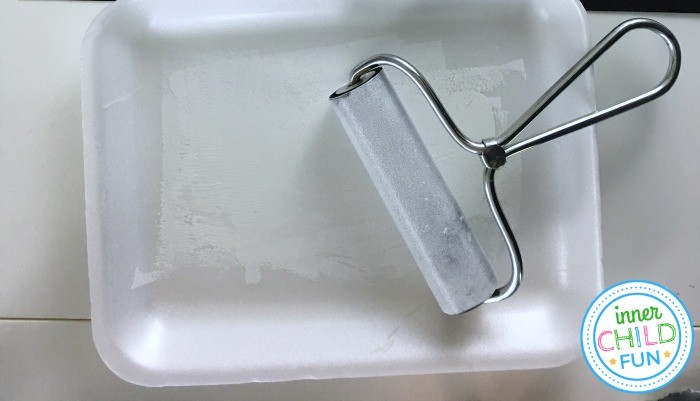
To make the print, use a brayer to roll out an even, thin layer of white block-printing ink. Next, roll the brayer over the surface of the stamp. Be sure to cover the entire surface with ink.
Flip your stamp onto the black cardstock paper. Apply firm pressure throughout the stamp, then carefully peel the stamp away to reveal your spider web print!
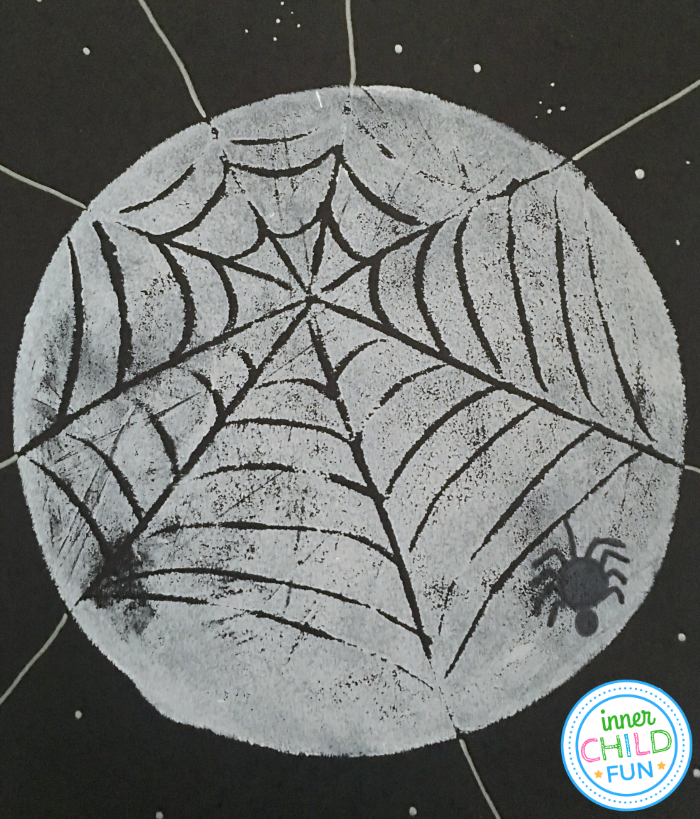
Add the finishing details of your spider web print with a fine point silver pen. This will create a great contrast against the black cardstock paper! Lastly, use a black marker to draw the spider inside the stamped web.
Have fun!
More Spider Art Projects to Explore:
- Spider Web Suncatchers – An easy art project that even very young crafters can do!
- Craft up Some Spider Web Place Cards – A great addition for any Halloween party.
- Spider Web Placemats – Easy craft for tots!
- How to Preserve a Spider’s Web – Very cool step-by-step tutorial.
- Make a 3-D Spider from Paper – Love this simple tutorial via our friends at Red Ted Art.


