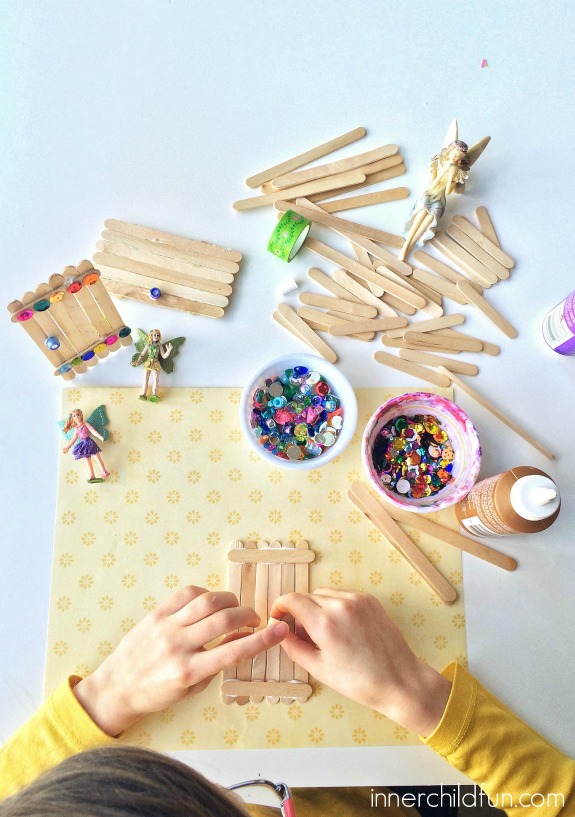
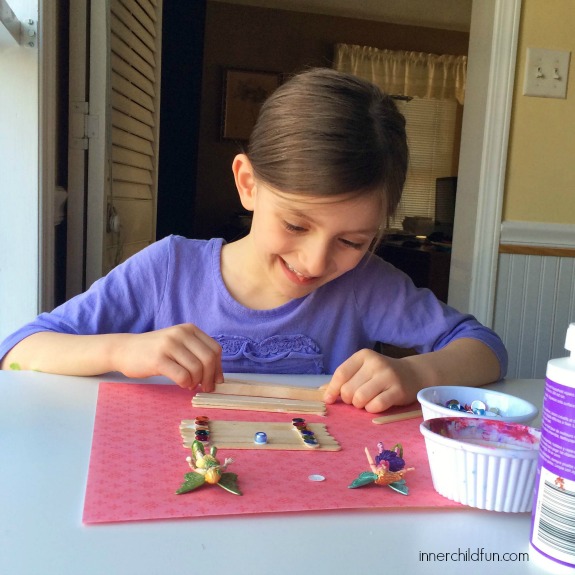
Ever wondered how to make a fairy door? This simple garden craft is an easy way for kids to add a little whimsy to their outdoor garden space. Making fairy doors with your kids is a great way to foster their imagination! My kids enjoyed crafting their fairy doors and decorating them however they liked. However, they also enjoyed giving vivid descriptions of what lies behind each fairy door and creating their own imaginative worlds to go along with them!
Here is how to make a fairy door of your own:
Step 1 — Gather Your Materials
You will need:
- craft sticks
- mini craft sticks
- tacky glue
- beads
and/or sequins
- glitter glue
(optional)
- acrylic paint
(optional)
- markers
(optional)

Step 2 — Arrange the Craft Sticks
Place six craft sticks in a row side by side. Arrange two half-length craft sticks on top as shown in the photo above. Glue the half-length craft sticks in place. Allow to dry completely.

Step 3 — Decorate Your Fairy Door
A pony bead is the perfect size for a fairy door knob! You can decorate the front and back of your fairy door however you would like with sequins, glitter glue, markers, or even paint. Allow to the glue to dry completely. Add your fairy door to your outdoor play or garden space!
For more Spring activities to do with the kids, check out our Ways to Play Spring 2015 Printable Calendar . It’s full of fun and festive kid-friendly activities for March, April, and May!
More Fairy Crafts to Make:
- Let’s Build a Fairy Garden Table!
- Building Fairy Houses
- Fairy Café
- Developing Storytelling Skills with a Mini Fairy Sandbox
- Rainy Day Fun — Fairy Garden Mural Craft
Have fun!
Disclosure: This post contains affiliate links. Thank you for supporting us!


