This pumpkin art project incorporates so many fun art techniques for kids ages 8 and up to explore! The kids can make simple stamps for block printing, create a collage with their prints, and later add further zentangle details. Scroll down for easy ways that this pumpkin art project can be adapted for younger children as well.
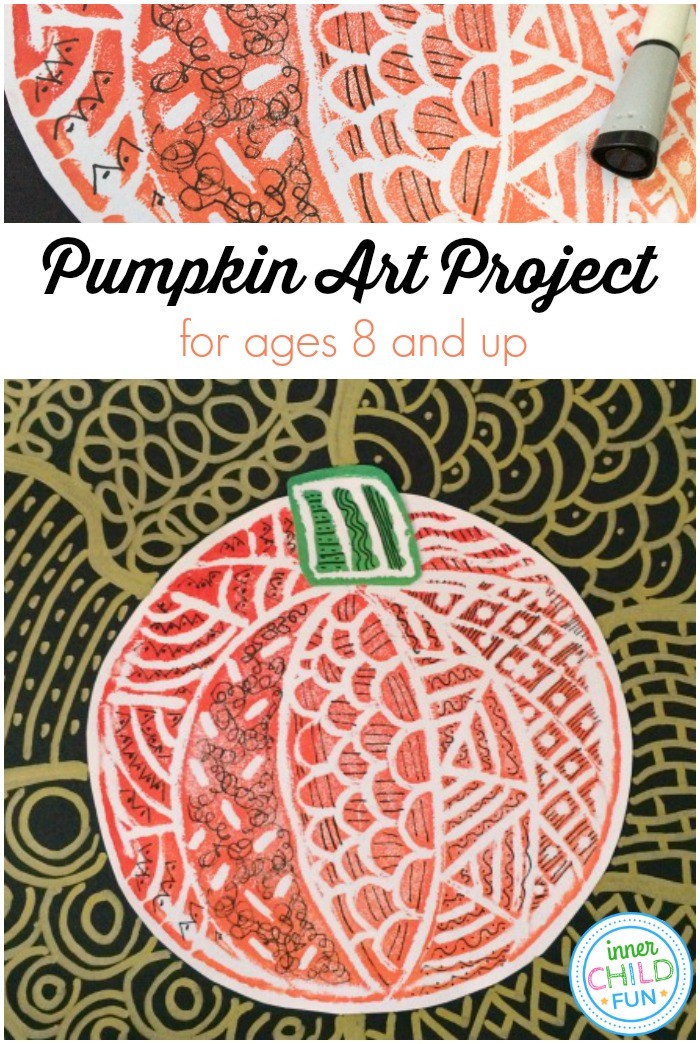
Step 1 – Gather Your Materials:
To make this pumpkin art project, you will need:
- Foam Plates
- Foam Tray
- Block Printing Ink – this starter set contains all the colors you will need for this project.
- Brayer
- Scissors
- Gold Marker
- Black Marker (fine tip)
- Glue Stick
- White Card Stock Paper
- Black Card Stock Paper
- Dull Pencil
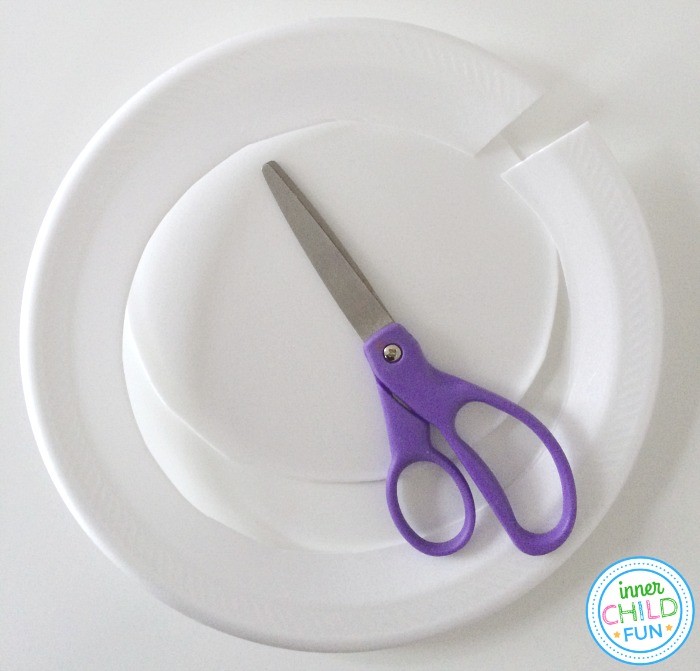
Step 2 – Make the Stamp
To make the stamp, use scissors to remove the rim from a foam plate. Next, use a dull pencil to draw designs onto your stamp.
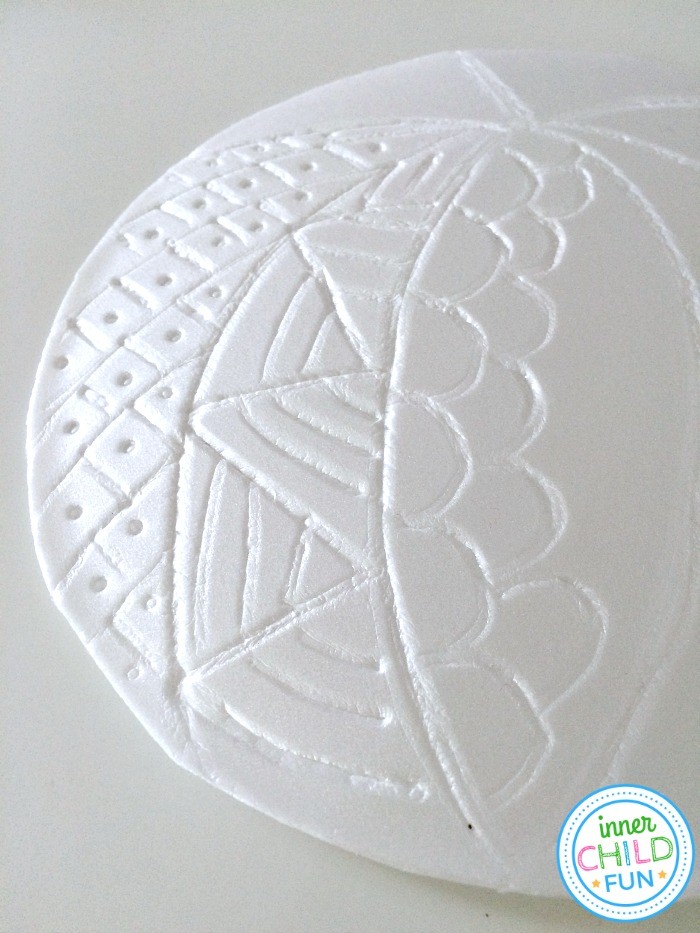
Step 3 – Make the Print
To make the print, place a small amount of block printing ink onto a foam tray.
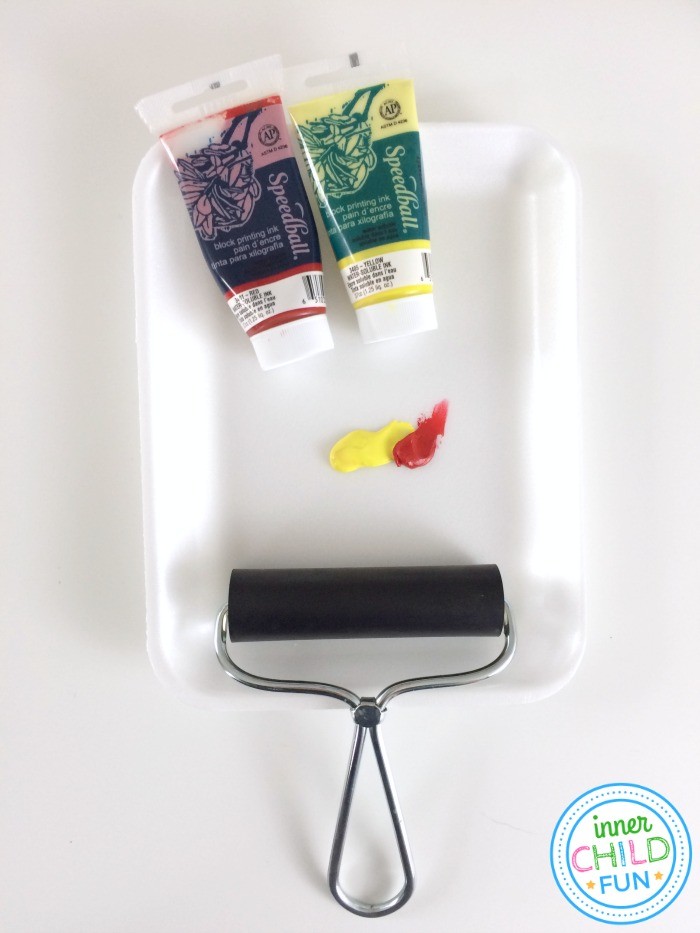
Use a brayer to blend colors as needed.
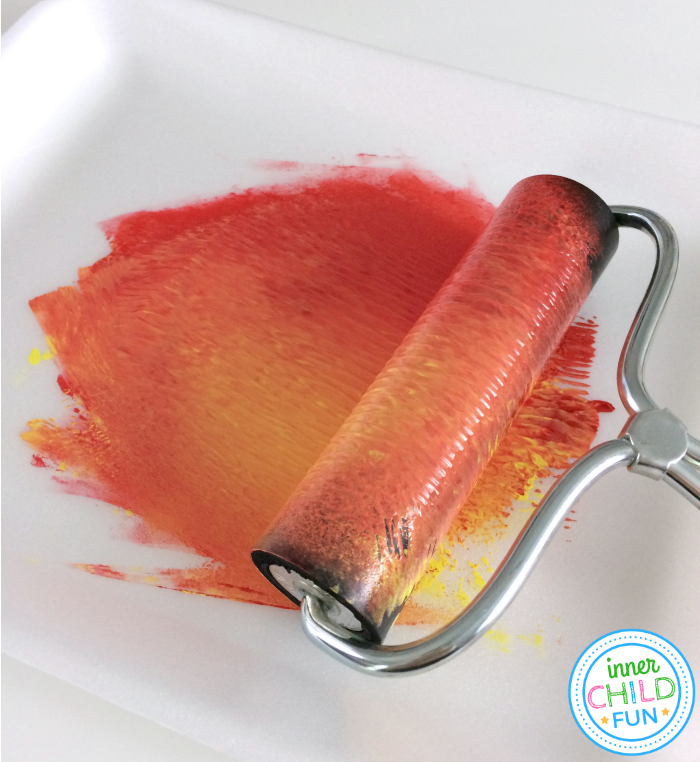
Use the brayer to roll out an even and thin coat of ink onto the stamp. Flip the stamp onto the paper and apply even pressure throughout the stamp. Carefully peel the stamp away from the paper to reveal your block printed pumpkin!
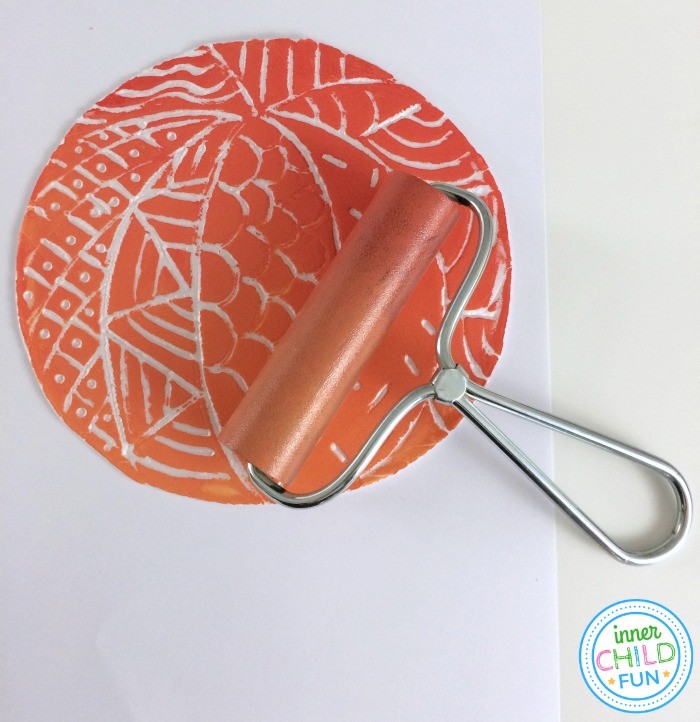
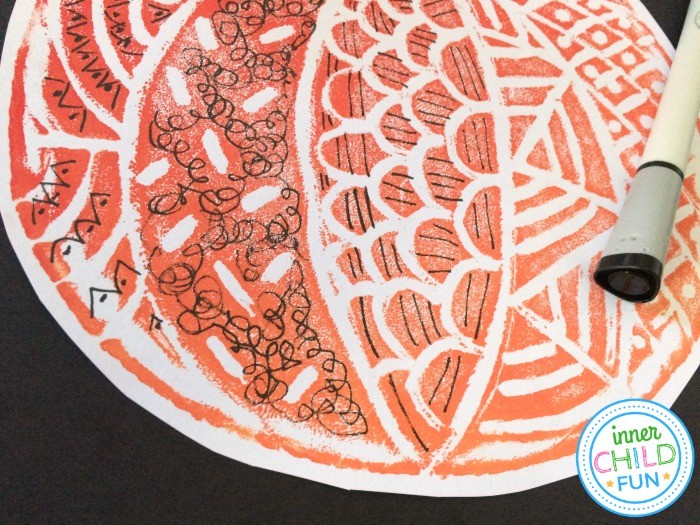
Use scissors to cut out the pumpkin print, leaving a slight margin around the edge of the print. Next, use a glue stick to attach the pumpkin onto a sheet of black card stock paper. Use a fine tipped black marker to add further detailed designs!
Repeat the steps above to create the stem for your pumpkin.
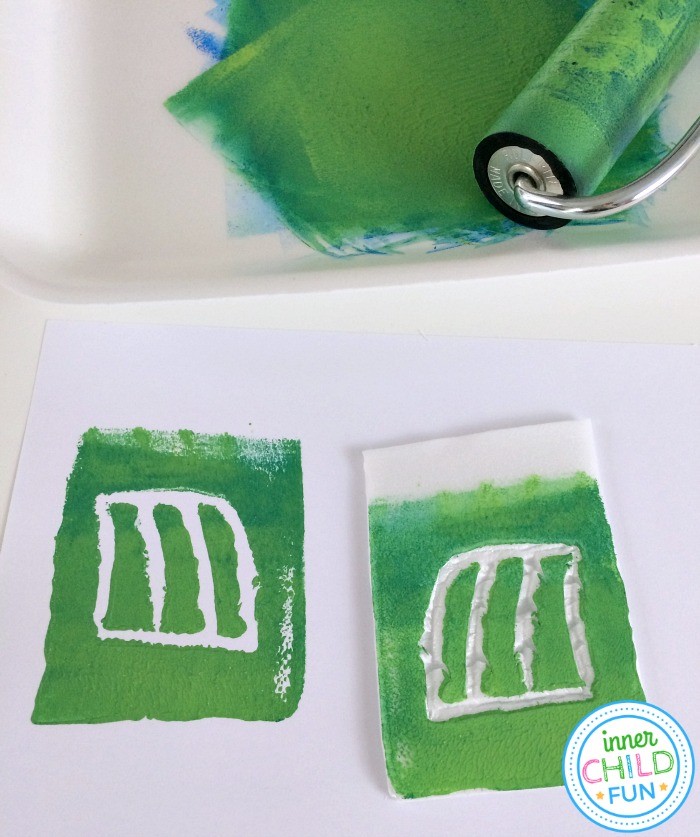
Use a glue stick to attach the stem to the pumpkin. Next, use a gold marker to create sections of the background.
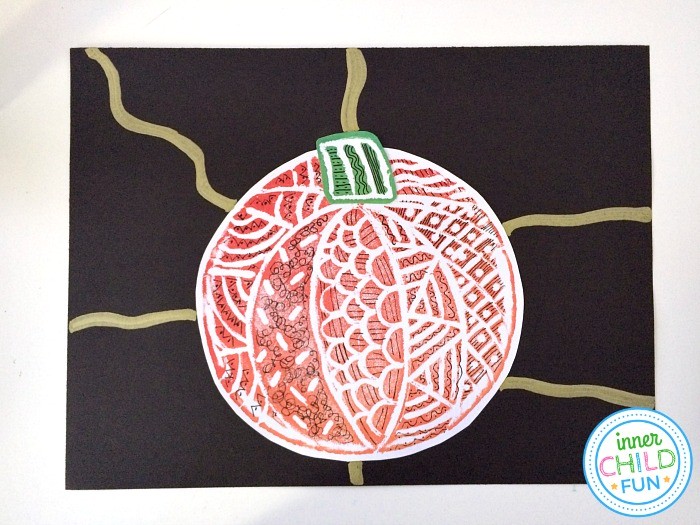
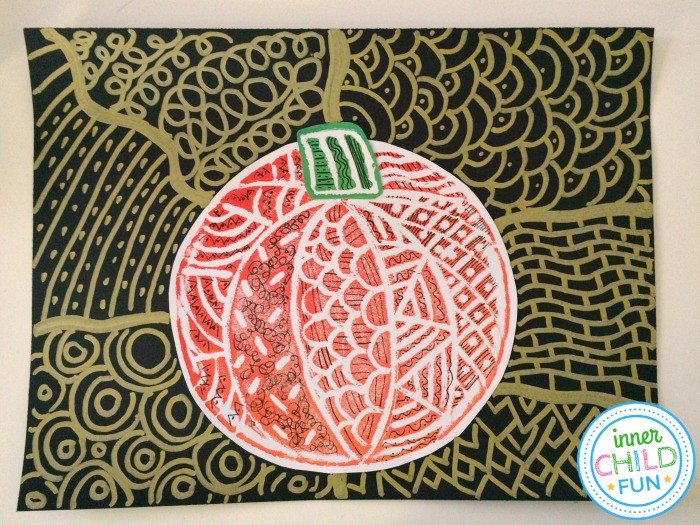
Add even more doodle designs until your project is complete. Be sure to take your time with this step. The beauty is in all the details!
For a simpler version, create your block printed designs onto black card stock paper and use chalk markers to decorate with additional details.
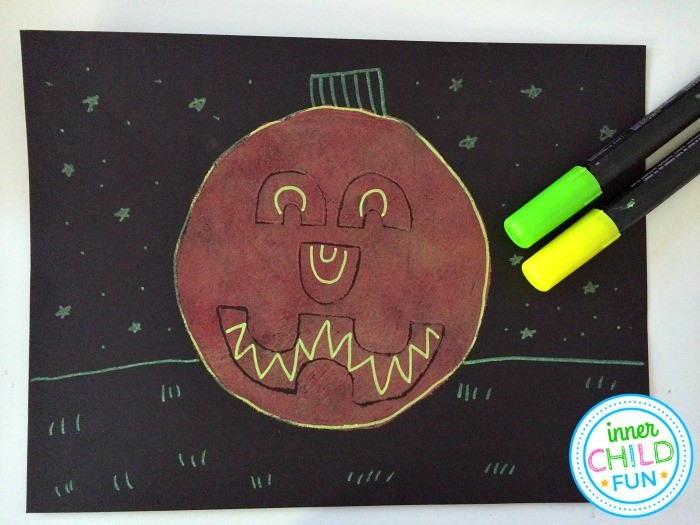
Each design is so festive and unique!
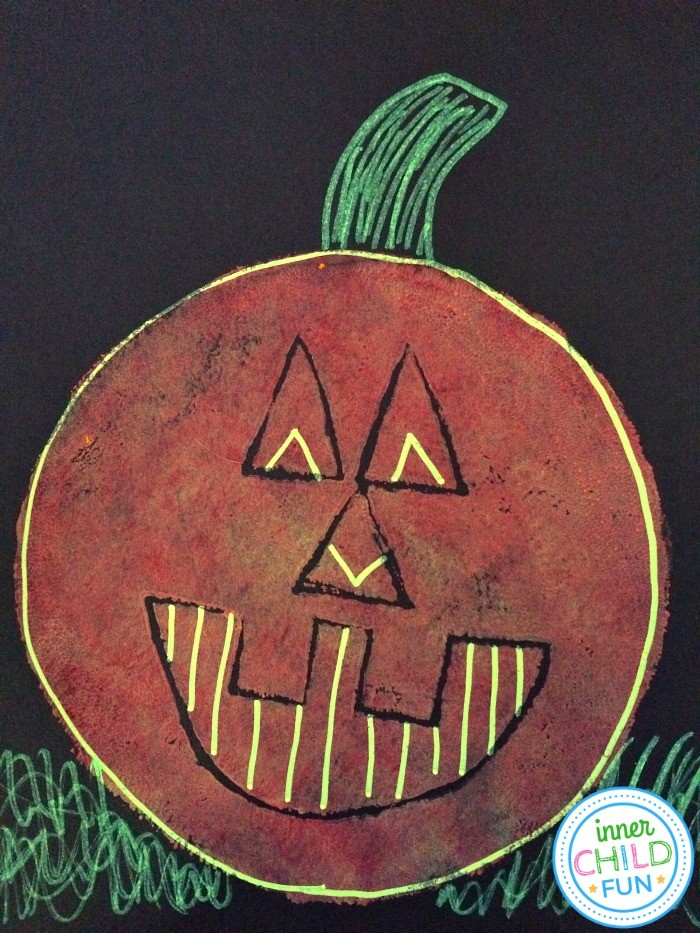
Have fun!!

