Here is an easy Halloween art project for kids using chalk pastels and black construction paper. You could use several different Halloween-themed subjects for these silhouettes, including bats, cats, spiders, witches, and more! Use pre-cut shapes available at any craft store, or cut out your own creations.
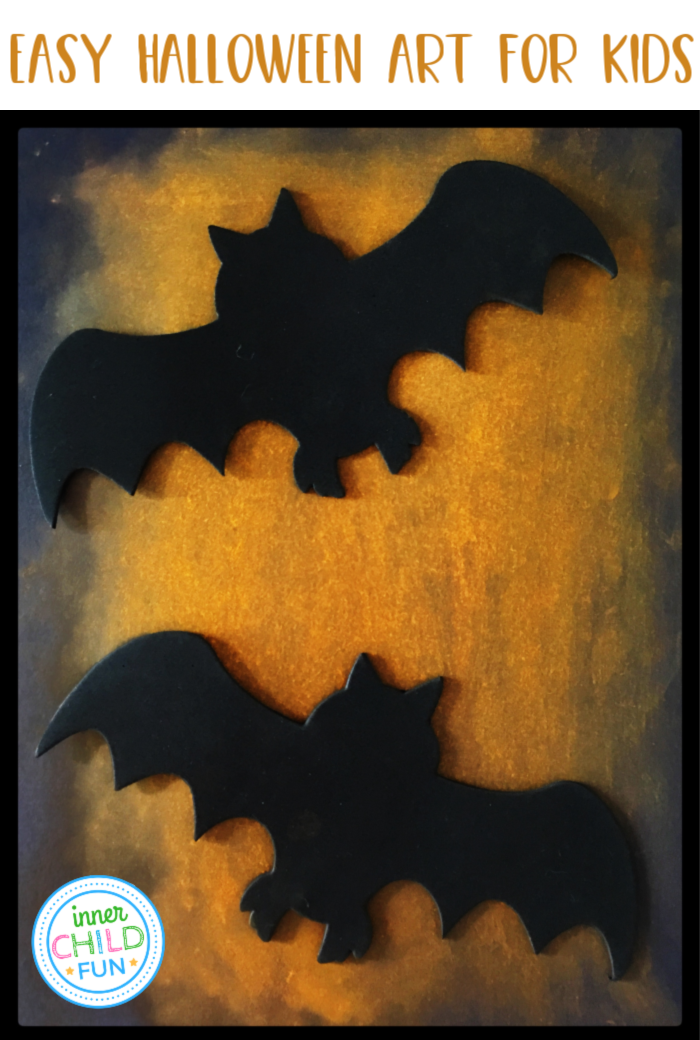
Here are instructions to make this easy Halloween art project for kids:
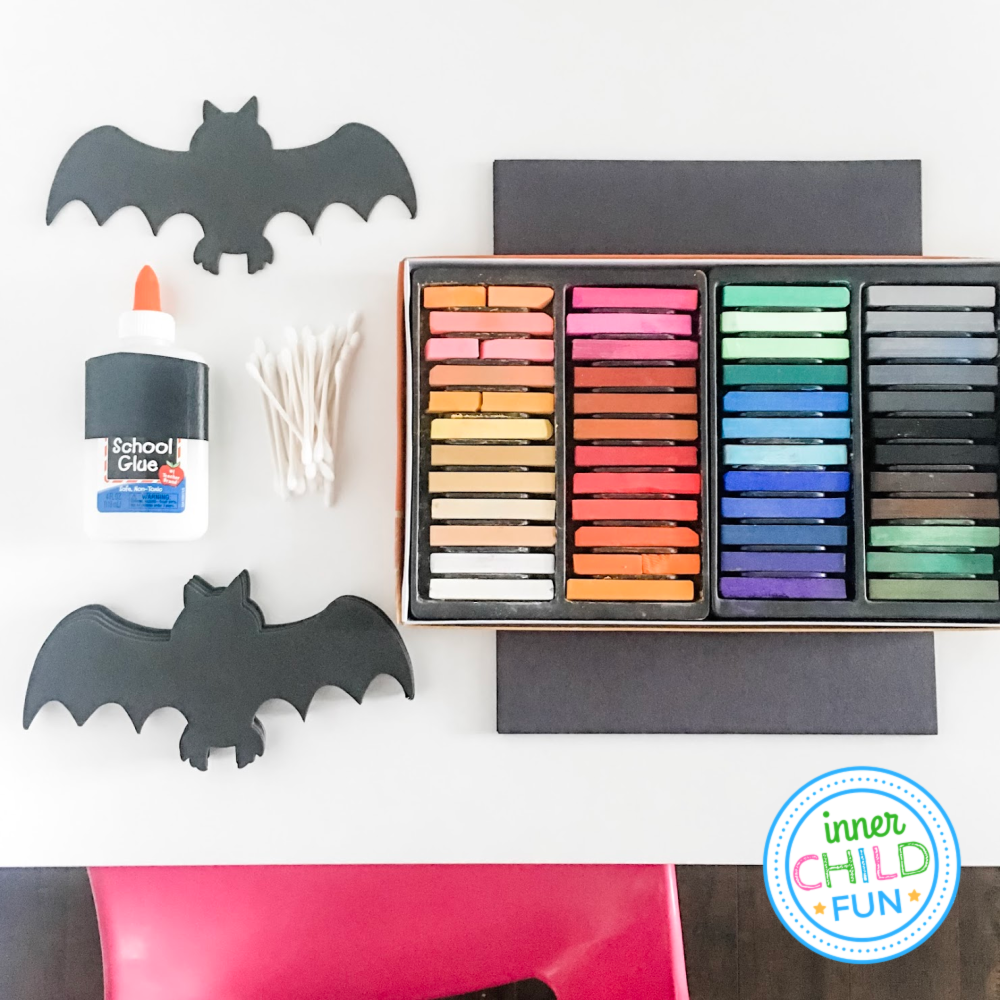
First, gather your materials. Optional items are noted below. For this project, you will need:
- Black construction paper
- Chalk pastels (bright yellows and oranges work best)
- Cotton Swabs
- Glue
- Black pre-cut Halloween shapes (optional)
- Disposable gloves (optional)
- Clear fixative spray (optional)
Next, invite your child to various shades of yellow and orange to fill in the center of the paper. Chalk pastels can be a bit messy, so your child may want to wear gloves for this part.
Now it’s time for the fun part! Once the paper is filled with color, show your child how to use a cotton swab to blend the colors together. If you do not happen to have cotton swabs on-hand, tissues would work well for this.
After the colors are blended, your child can arrange and glue the paper cut out shapes on top. Allow the glue to dry completely.
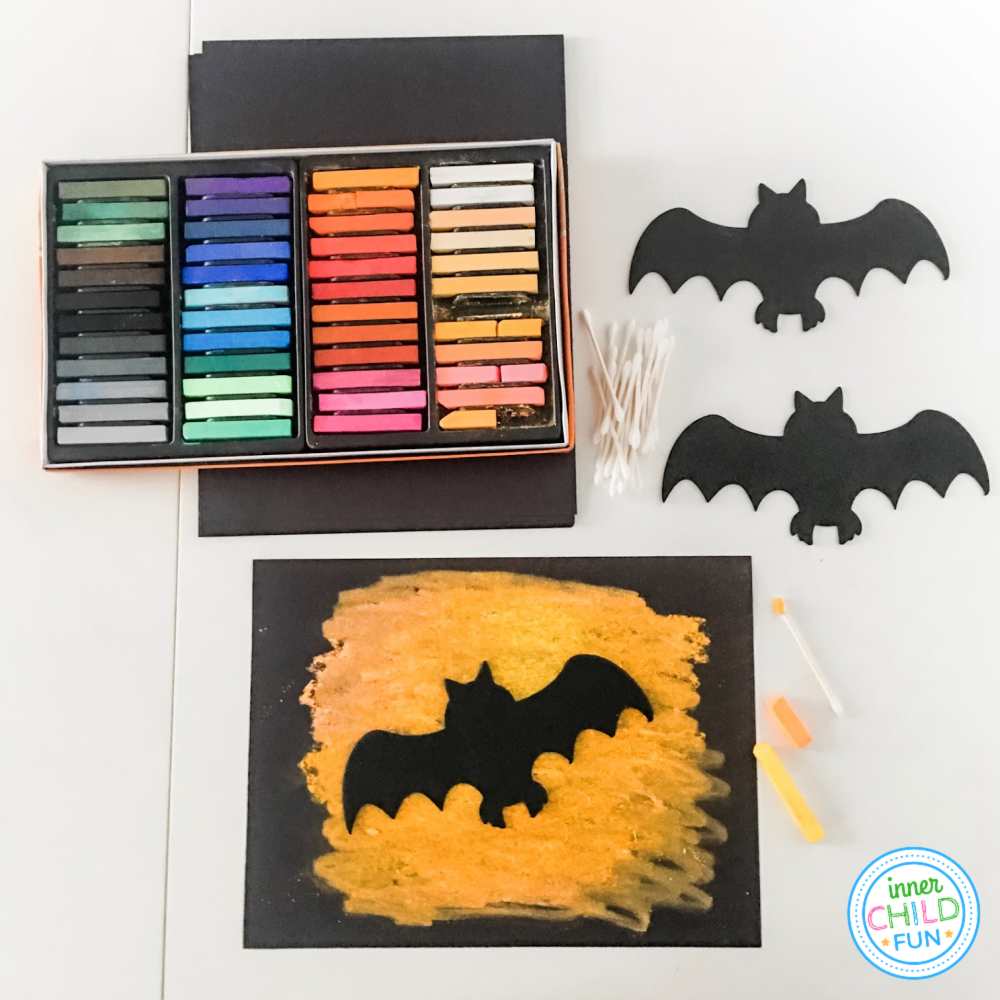
If desired, have a grown-up spray a coat of clear fixative to keep the chalk from smudging. This can be particularly helpful if you plan to mail your finished artwork to family or friends. Otherwise, be sure to proudly display your child’s finished Halloween artwork in your home!
Have fun!!
More Halloween Art Projects to Explore:
- Paper Haunted House Lanterns – with a free printable template.
- Zombie Portrait Banner – fun group art activity for a Halloween party!
- Pumpkin Art Project – great for ages 8 and up.
- 5 Tips for Hosting a Pumpkin Painting Party – get your free printable invitations!
