


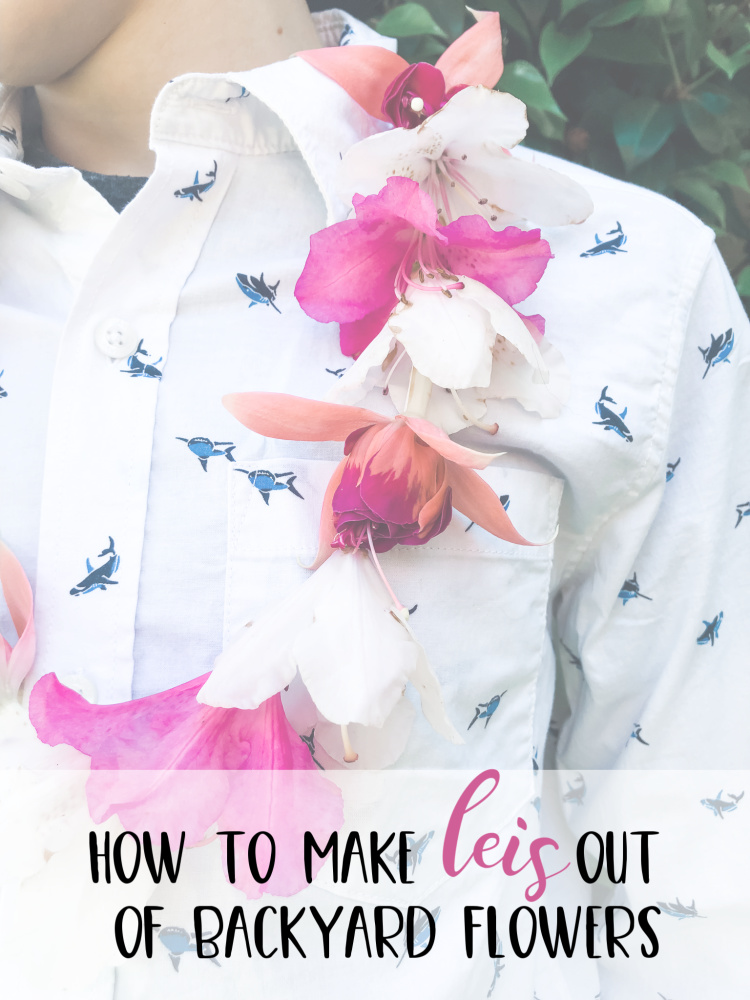
Making leis from real flowers may seem daunting at first, but those blooming flowers in your backyard may be the perfect way to bring a little “aloha” into your school day!
One of the many joys of homeschooling is the freedom to travel. When we travel during the school year, we just take our studies with us! Every now and again there is a place we would like to go but we don’t know much about it and so we make it into a unit study before we start saving for plane tickets. My kids are dying to go to Hawaii, so this final week of school we spent studying those beautiful volcanic islands.
We have spent the last few days listening to lots of Hawaiian music (Pandora is a great resource), played games about how to pronounce Hawaiian names, found out what our names would be in Hawaiian, and drawn a map of the Hawaiian Islands on the patio (in sidewalk chalk) and jumped from island to island.
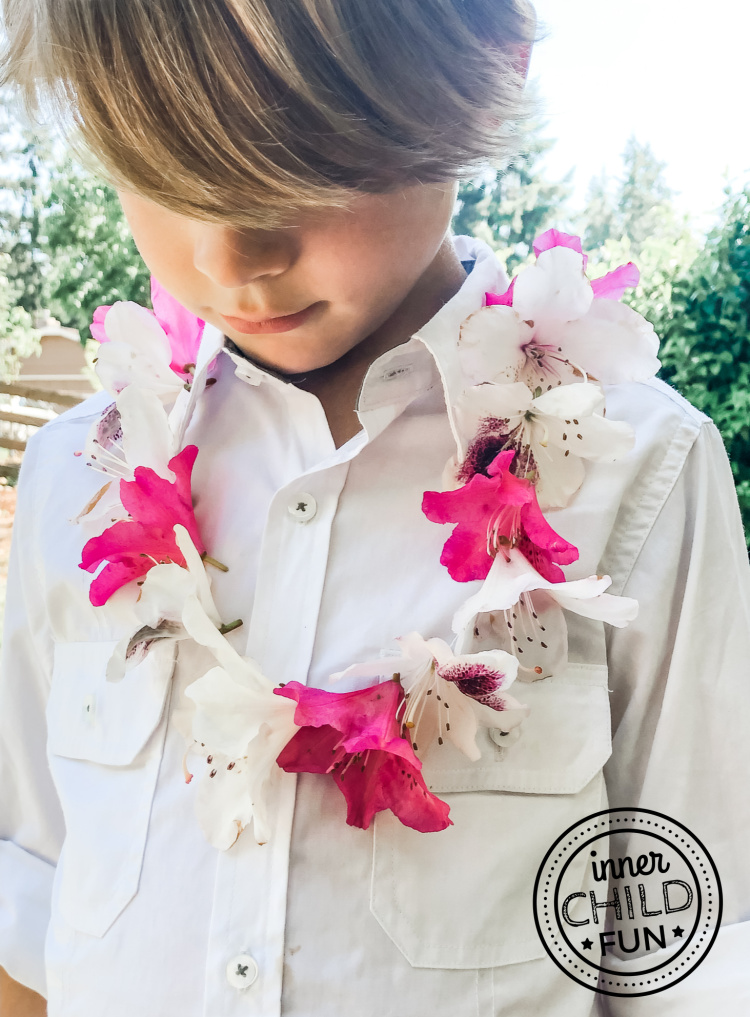
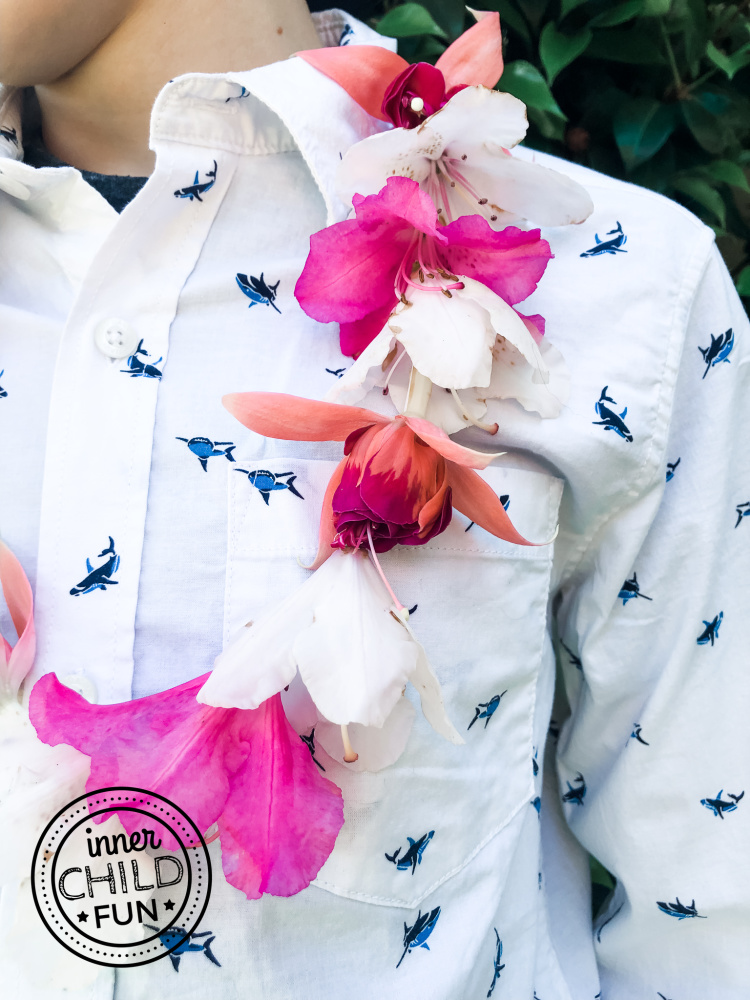
Leis have become a universal symbol for Hawaiian hospitality and I thought that it would be fun to make some leis during our study. I borrowed some lei needles from a friend and we have been stringing leis all morning out of our beautiful spring flowers from the yard. It wasn’t hard, but there were a few pointers that I have learned today, which I wish I knew this morning:
Tips to Make a Lei from Real Flowers:
- Do not use elastic thread! Flowers are heavier than they seem and it makes the flowers all dump to the front center when you use stretchy thread.
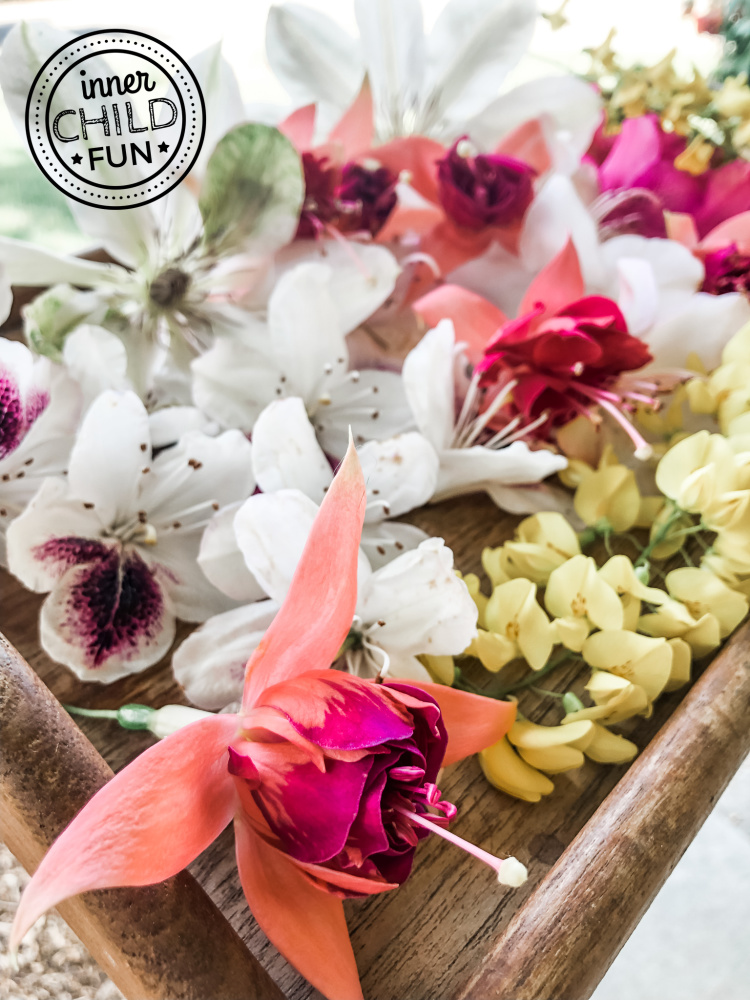
- Pick flowers with thick, but not woody, stems. We used mostly Fuchsia and Rhododendron blossoms.
- You do not need a Lei needle. But it is good to have a thin long needle. A doll needle would work fine if you are using thick twine, but if you are using thread, it is better to use a long thin needle so the hole made is not drastically bigger than the thread used.
- Keep the stems on and put the needle right through the stem. This will seem as though you are breaking the flowers and it takes some careful hands… so make sure to be by your kids to help with this part.
- If you need spacers, then use straws, cut into 1 – 2 inch lengths and place them between the flowers.
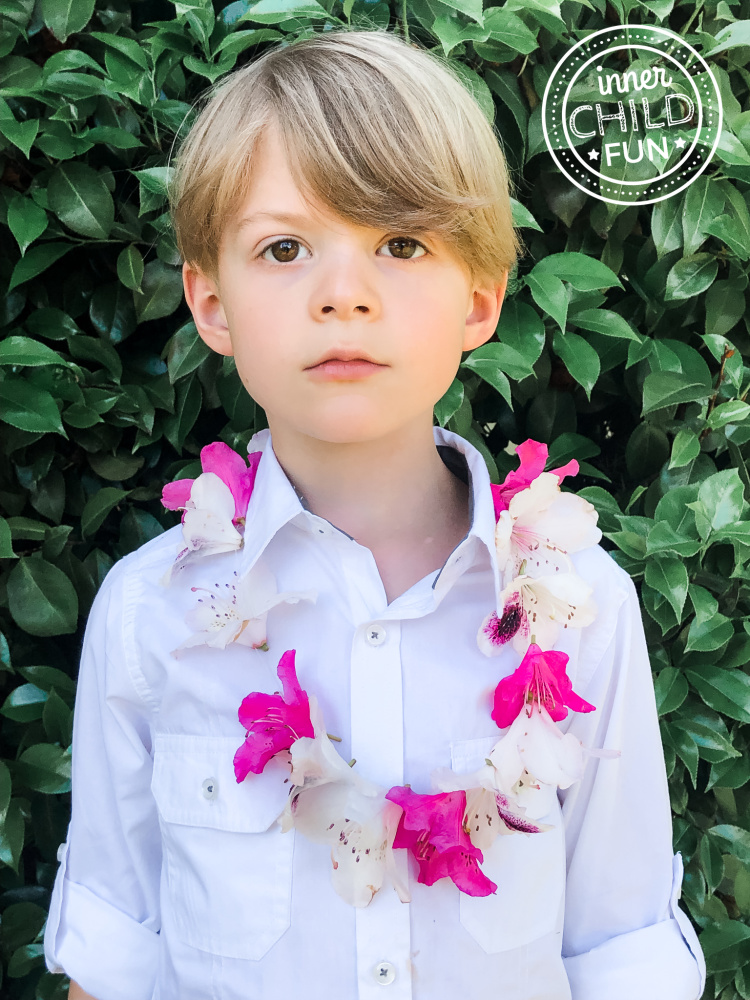
That’s it! Take a trip to Hawaii, whether an actual plane ride or a trip in your imagination, this fun and easy project is the perfect way to spend an afternoon!