
April is known for it’s rain showers. What better time to try some simple science experiments with water! Today, I’m sharing with you 5 simple experiments that need only a few items and take just a few seconds to set up, yet are fun and explore different properties of water.
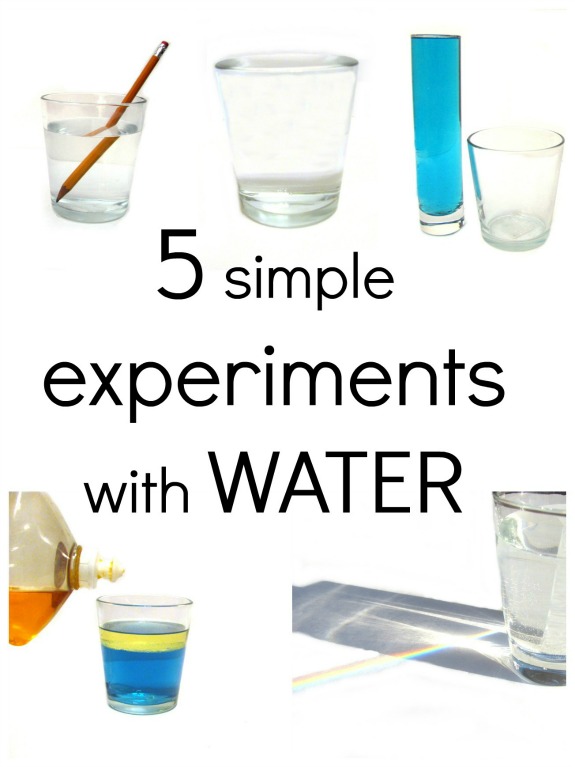
1. Bending pencil experiment
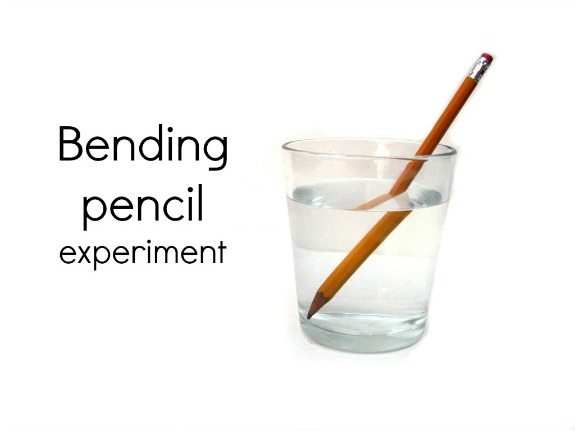
Materials needed:
- glass with water 2/3 full
- pencil
Procedure:
Place a pencil in the water, placing it so that it is tipped to one side. Look through the front of the glass and notice that the pencil is bent.
The science behind it:
Light “bends” when it passes though one substance to another of a different density. The light is first travelling through the air, and then it passes through the water. Since the water is more dense than the air, the light rays bend in the water. This makes the pencil seem to bend as well. The process of light bending is called refraction.
2. Rainbow light experiment
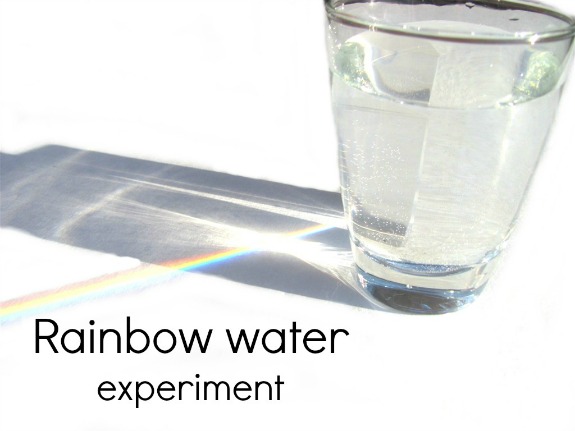
Materials needed:
- Glass of water
- piece of white paper
- full sunlight
Procedure:
Place a glass of water in direct sunlight. Hold the white paper below the glass. Look for the rainbow!
The science behind it:
Rainbows are formed when light passes through water droplets. As the light comes through, it is refracted, just like in the bending pencil experiment above. As a result, the light separates into its different colors, which forms the rainbow.
3. Oil vs. water experiment
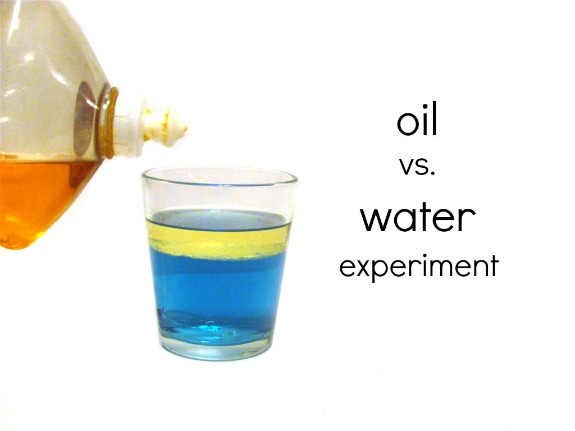
Materials needed:
- glass or bottle
- water
- vegetable oil or a similar cooking oil
- dishwashing liquid
Procedure:
Pour water into the glass. Pour vegetable oil into the glass. Observe what happens. (The vegetable oil and water separate into layers.) Add dishwashing liquid and stir. Observe what happens.
The science behind it:
Water and oil are both made up of molecules that are strongly attracted to each other. Water molecules have a positive charge on one end and a negative charge on the other end. Since the opposite ends of the molecule have different charges, it is called a polar molecule. The molecules in the oil are more evenly spaced out, and therefore do not have charges on the opposite ends of the molecule. These are called non-polar molecules. Since the water and oil molecules are different types, they do not mix. When the dishwashing liquid is added, it causes the bonds between the molecules to change, and allows the liquids to mix.
4. Which holds more? volume experiment
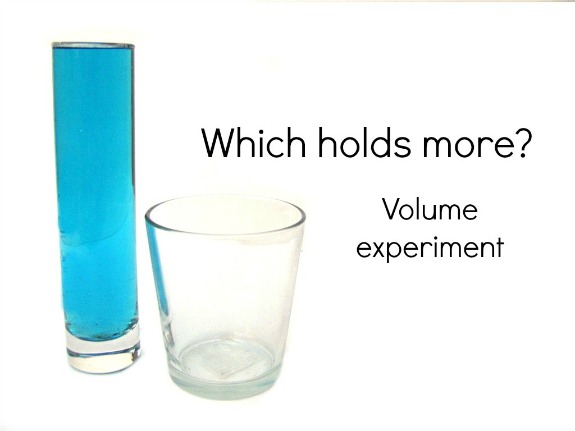
Materials needed:
- large measuring cup filled with water
- short and tall glasses of different volumes
*Note: This activity works best with a tall, thin glass/vase as well as a short, fat glass. I check the volumes ahead of time to make sure the volume of the short glass is more than the tall vase.
Procedure:
Show the kids the short and tall glasses. Let them choose which they believe will hold the most water. (They almost always choose the tall, thin glass.) Pour the water into this glass. Since they chose the glass that they believe holds the most water, remind them that if you pour the water from their glass to the other glass, the water should fill the other glass and still have water left in their glass. Pour the water into the second glass to test their hypothesis that their chosen container holds the most water. (My son was shocked when the water was poured into the second glass and it did not fill it entirely!)
The science behind the experiment:
Most kids think that the taller the glass, the more water it must hold. This is not always the case, especially if it is tall and thin. This simple experiment shows that you cannot determine the volume based on the height of an object.
5. Surface Tension experiment
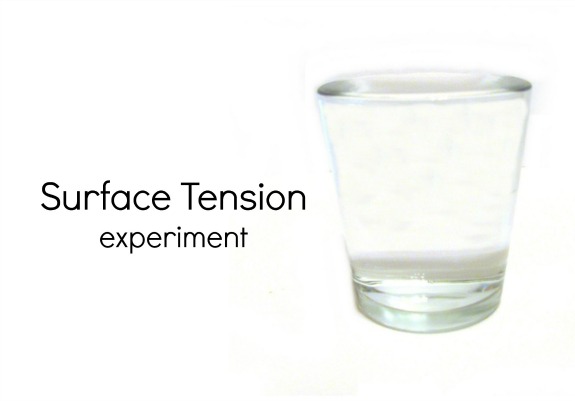
Materials needed:
- glass
- measuring cup filled with water
- eyedropper
Procedure:
Pour water into the glass, filling it to the brim. With the eyedropper, carefully add additional water to the glass. Continue to add water until it over flows. Observe the surface of the water and watch it bulge above the top of the glass.
The science behind it:
As I mentioned in the oil vs. water experiment, water is a polar molecule. This makes the water molecules stick together with a very strong bond. The surface of the water bulges upward with each drop of water, until the molecules can no longer stick together at the top of the glass. This is called surface tension. You can also try this experiment with dropping pennies into the glass, to see how many pennies you can add, before it the water spills over the edge. Likewise, you can also try it with other liquids. Rubbing alcohol is a good liquid to try, as it does not have a high surface tension value like water does.
Happy experimenting!


Love this, Leann! So simple but so fun. My 4 year old loves experiments and is always asking to do them. Pinned to my Hands-On Science board and will re-pin to my preschool board as well. Going on the lesson plan for next week, too.
I remember this from when I was a kid and how magicial it felt when I discovered these concepts. Thanks for sharing! We’d love for you to share this on our After School Link up http://www.theeducatorsspinonit.blogspot.com/2013/04/creating-and-learning-with-clothespins.html
Fantastic! Thanks for the easy experiments but also the science behind it!
Great hands-on learning. Thanks!
It is AMAZING. It is easy to do & it is so helpful to my projects.. Thank you leann