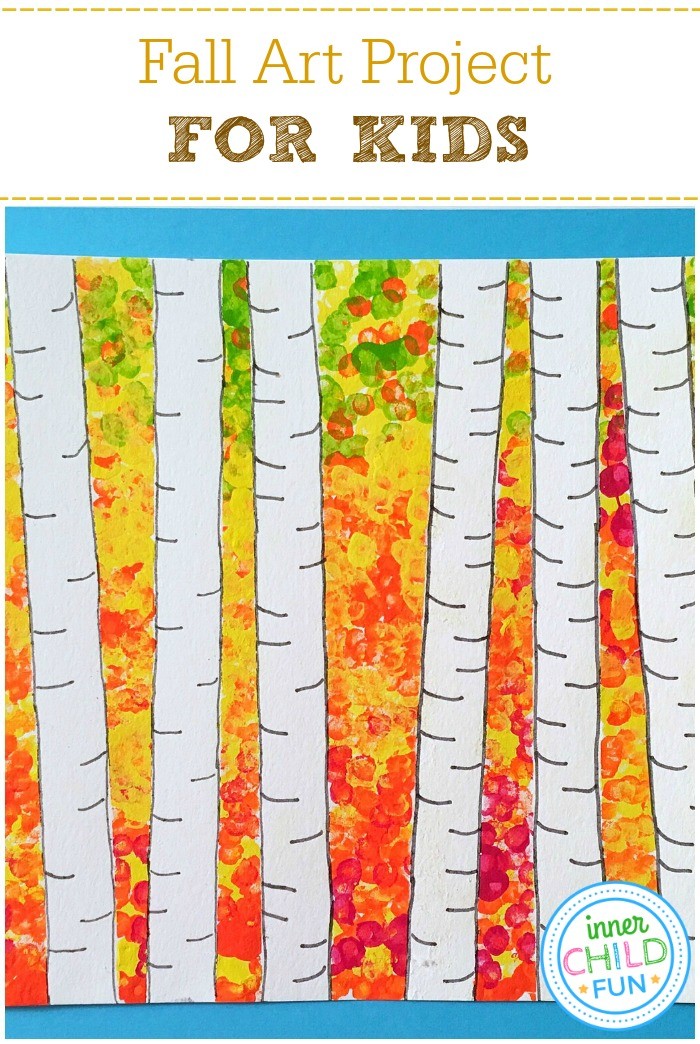
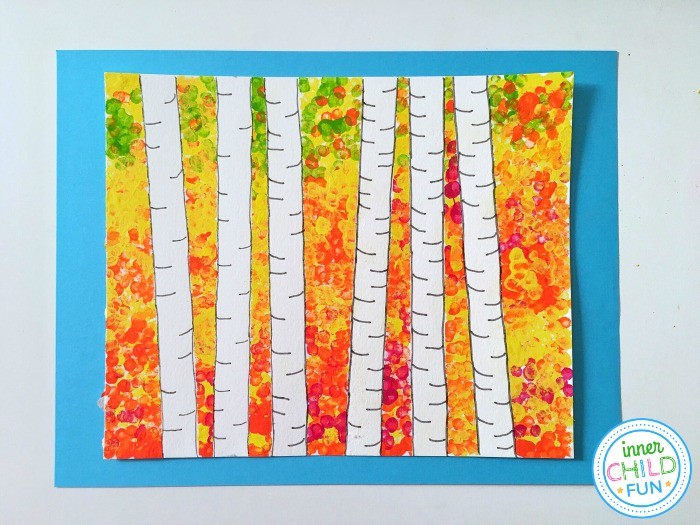
This Fall art project for kids is perfect for any time you need a simple creative activity during the Autumn months! Even very young painters can have great results using this easy technique. With a few basic art supplies you probably already have on-hand, kids can create this beautiful painting. This Fall art project for kids could be a wonderful follow-up activity after enjoying a nature hike, or perhaps after reading some great Autumn books together!
For this Fall art project for kids, you will need:
- Tempera Paint (Green, Yellow, Red, Orange)
- Masking Tape
- Watercolor Paper
- Cotton Swabs
- Grey Marker or Colored Pencil
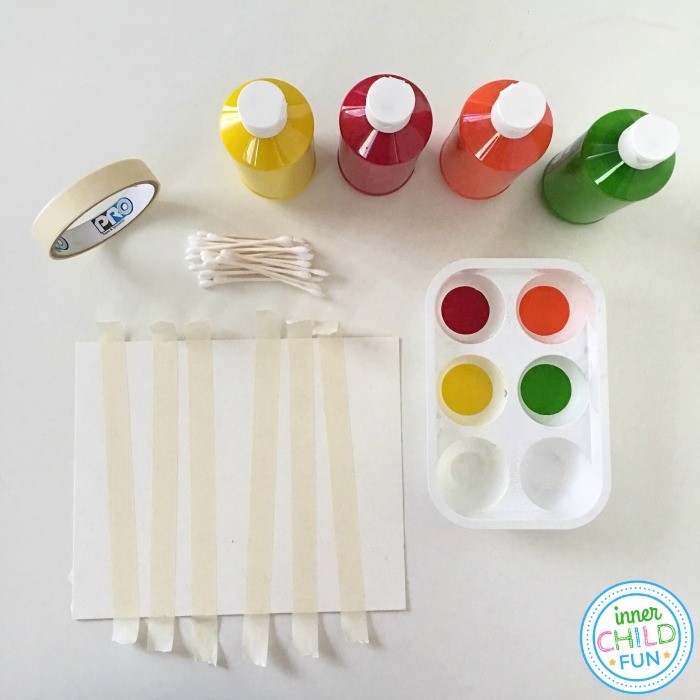
To begin, invite your child to use masking tape to create tree trunks along the watercolor paper. Be sure to press the tape down firmly.
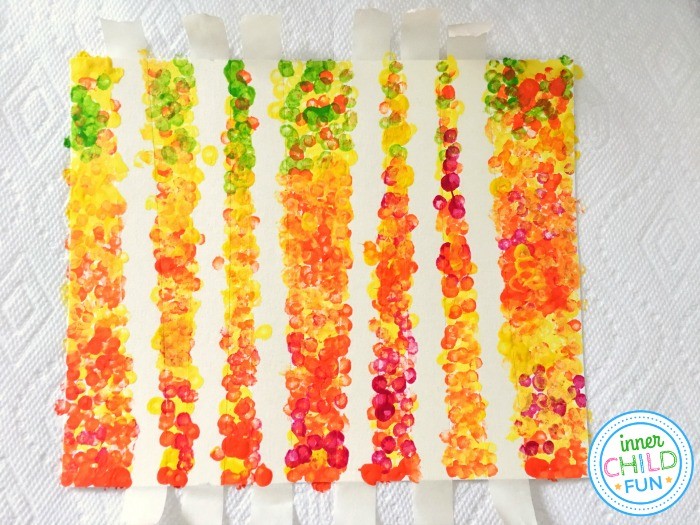
Next, invite your child to dip the end of a cotton swab into some tempera paint, and add the leaves to their Fall forest painting. Encourage your child to cover the entire sheet of watercolor paper with the paint.
Tip — To help speed up the process, make a larger painting tool by using a rubber band to combine several cotton swabs together.
Allow the paint to dry completely.
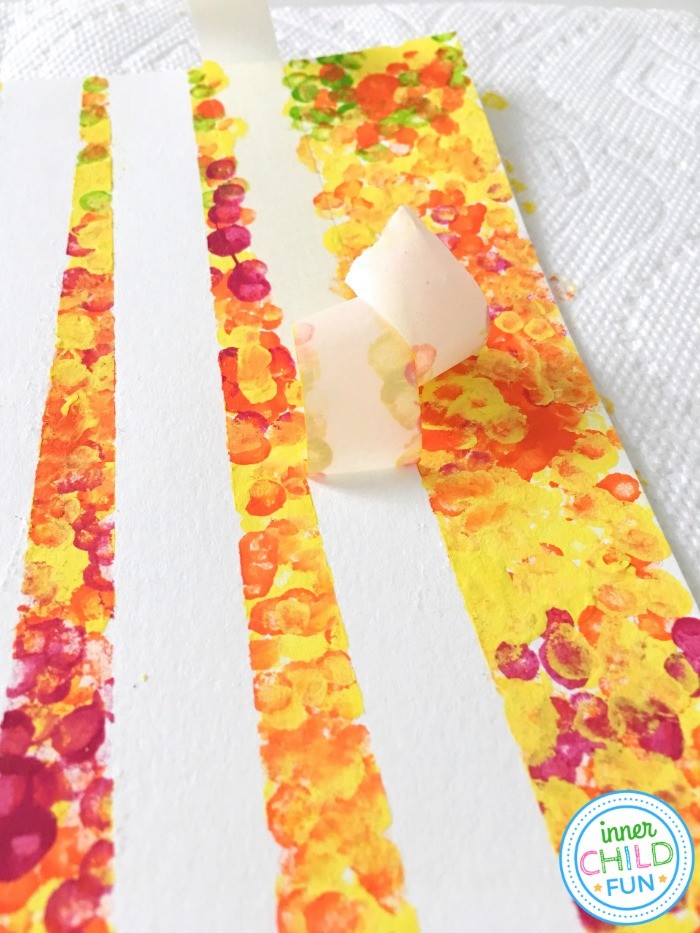
Once the paint has completely dried, carefully peel back the masking tape to reveal the trunks of the trees! For a finishing touch, use a grey marker to outline the tree trunks and add lines to the tree bark. Lastly, be sure to display your child’s artwork proudly in your home!
Have fun!!
More Fall Art Projects for Kids to Explore:
- Autumn Window Art — Use tissue paper to create beautiful window art!
- Fall Greeting Cards — Use leaves to make unique greeting cards for family and friends.
- Pumpkin Art Project with Chalk Pastels from The Kindergarten Connection — Make a pumpkin portrait together!
- Leaf Bowls from Red Ted Art — One of our favorite projects for Fall!


