


The following post is sponsored by Melissa & Doug. All opinions are my own.
Crafting handmade Christmas gifts with the kids doesn’t have to be messy! These Mess-Free Glitter Christmas kits were a big hit with my kids (they are designed for ages 5 and up) and their finished projects were perfect for gift tags, ornaments, party favors, and festive decorative items! I love that Mess-Free Glitter provides all the fun and sparkle of real glitter, but without the mess to clean up. These are great whenever you need a little project to keep the kids happily entertained — perfect for a snow day!!
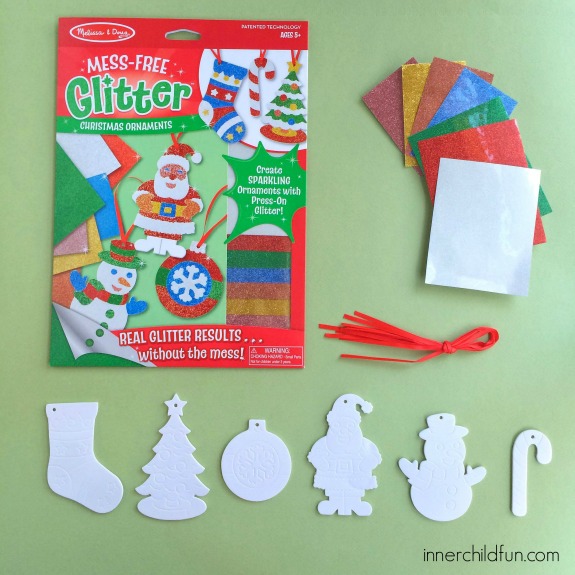
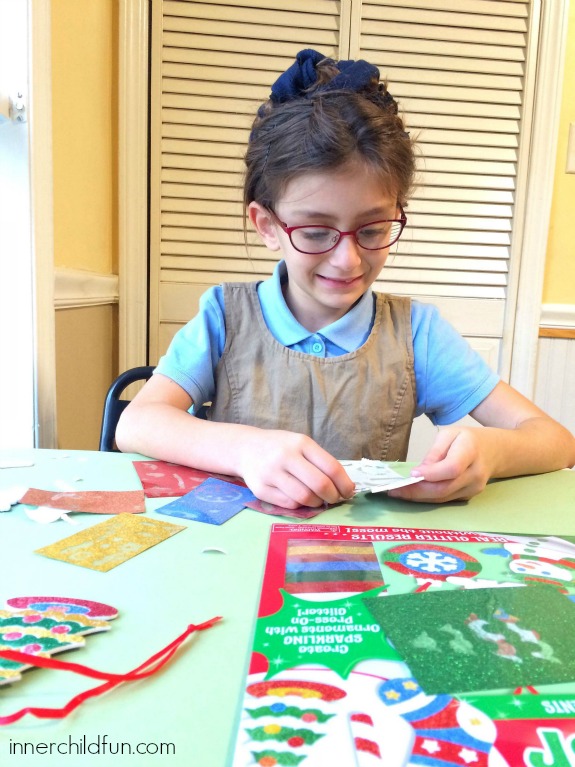
Mess-Free Glitter works by peeling off a section of paper to reveal an adhesive. Place a glitter sheet over top, and rub your finger over the glitter sheet several times. Slowly peel off the glitter sheet to reveal your sparkly creation!
Here is a quick video of my daughter demonstrating how Mess-Free Glitter works:
The Christmas ornament kit can be used as party favors, small gifts, or even gift tags (just add a small label to the back to say “To” and “From”). It includes six festive one-sided ornaments and ribbons for hanging them. If the kids decorate one ornament at a time, it would be a great advent activity as they count down the days until Christmas!
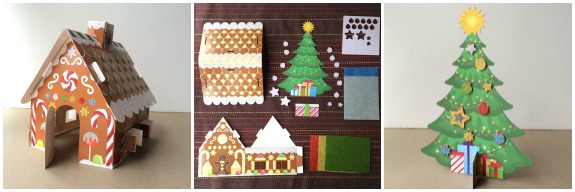
The gingerbread house and Christmas tree kit makes beautiful items for home decor, such as a table centerpiece, a mantle display, or as a gift for an office worker to decorate his or her desk. My kids loved working on these, and I would leave the kits out for them to work on a little bit at a time over the course of about a week. They were both so proud of their finished projects!
Here are five of our favorite tips to keep in mind when working on mess-free glitter projects:
1. Keep a paper cup handy to discard the paper shapes that are peeled away as you work.
2. Work on a hard, flat surface.
3. Always keep the glitter sheets flat so they do not stick to themselves.
4. Use the glitter sheet beginning at one corner and keep the shapes close together. This will help conserve glitter. You can also use the little bits in-between shapes to fill in larger areas by pressing, repositioning, and pressing again.
5. To store your mess-free glitter sheets, keep the protective backing and reapply it to the sheets.


mess free glitter! it’s like a Christmas miracle. Love these!