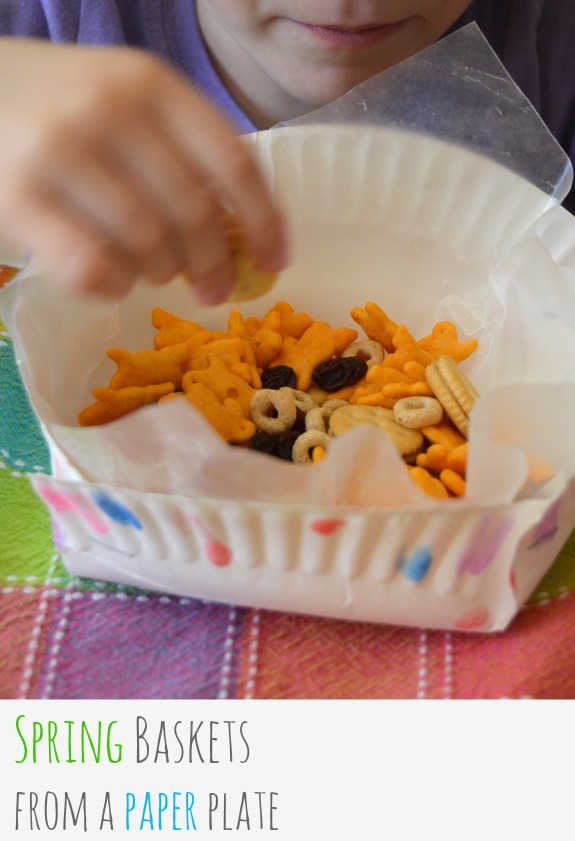
These Spring baskets are a quick and easy craft project the kids can make and they are quite useful for snacking or gift giving! A BIG thank you to our friends at Melissa & Doug for sponsoring today’s creative craft project! Psst — did you see we recently teamed up with Melissa & Doug and Highlights for Children to create the Ultimate Rainy Day Activity eBook? You can download it for free by signing up here!
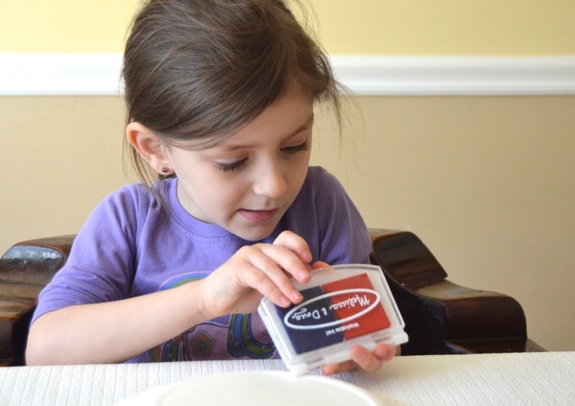
To make your own Spring baskets, you will need: a paper plate, a colored stamp pad (we love the Melissa & Doug stamp pads because the color is quite vibrant and they are washable!), and a stapler.
Once I laid out the supplies, Clara could not wait to get started!!
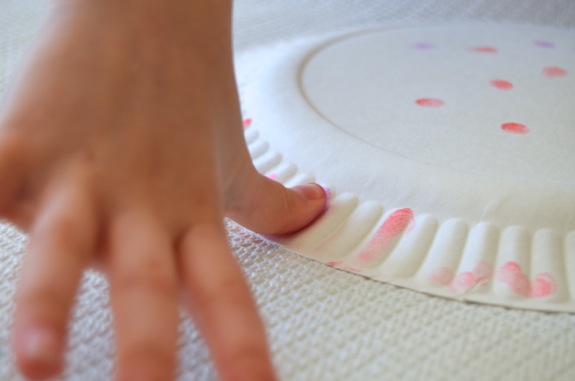
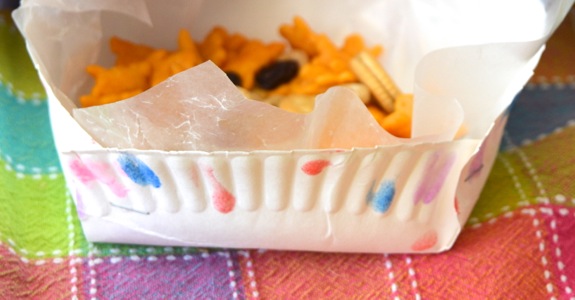
Flip the paper plate over, and invite your child to stamp thumbprints along the outer edge of the plate. I love how kids’ little fingerprints look like colorful confetti on these!
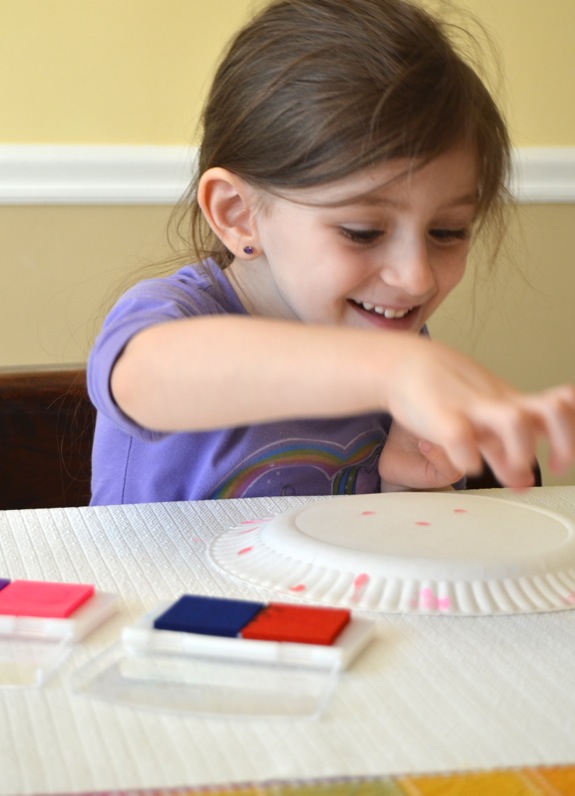
Tip — to keep your stamp pads looking like new, start with the lightest color ink. Use a baby wipe to clean fingers before moving on to the next color.
Next, flip the plate back over, and fold the plate as shown in the photo below.
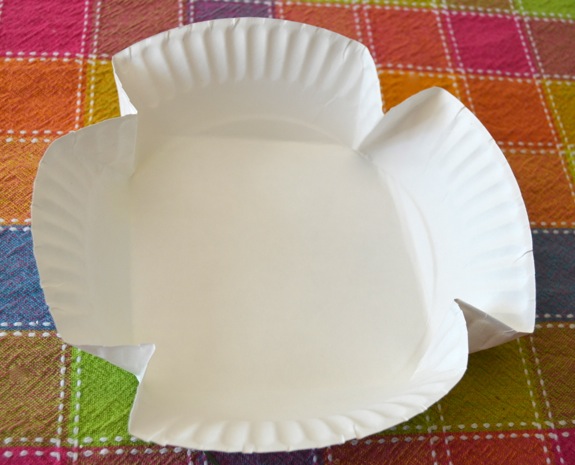
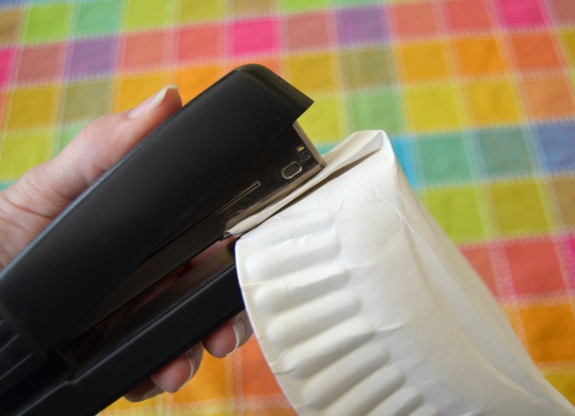
Tighten up the folds, and staple into place.
Fill your Spring baskets with treats, party favors, or your favorite snack!! We filled our Spring baskets with homemade trail mix by combining the last bits of leftover crackers, cereal, and some dried fruit from the pantry. Yum!
Have fun!!
(Disclosure: This post is sponsored by Melissa & Doug. Don’t forget to download the Ultimate Rainy Day Activity eBook — it’s free! There are a ton of other kid-friendly crafts, activities, and creative play ideas on the Melissa & Doug blog, so be sure to check out their blog too! All opinions are my own. Disclosure policy here.)




Thumbtastic!
Oh no- wait- here’s a better one:
I give this craft two thumbs ups! ;0)