

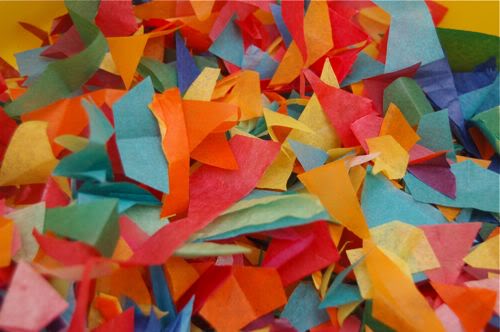
After having done countless craft projects that involved tissue paper, I had been saving a rather large collection of tissue paper confetti. Since I’m never one to throw stuff away, I saved these bits of colorful goodness to recycle for other projects like this one! Our vegetables are starting to arrive in our garden, and what better way to welcome them than with this garden welcome banner. It’s quick, easy, and even the littlest crafters can make it with great results!!
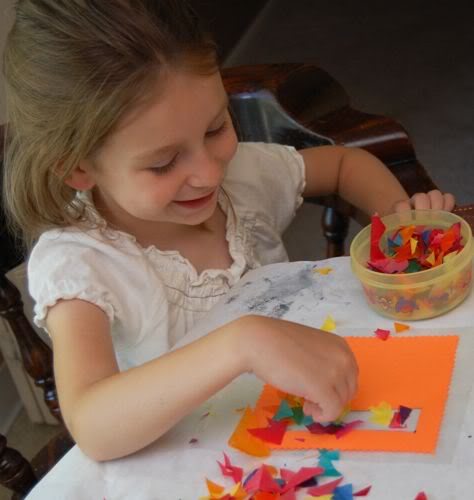
I cut out letter-frames of construction paper to spell out the word “welcome” and placed them right-side down on a sheet of clear contact paper. Then I invited the girls over to decorate the letters with all that fun confetti!
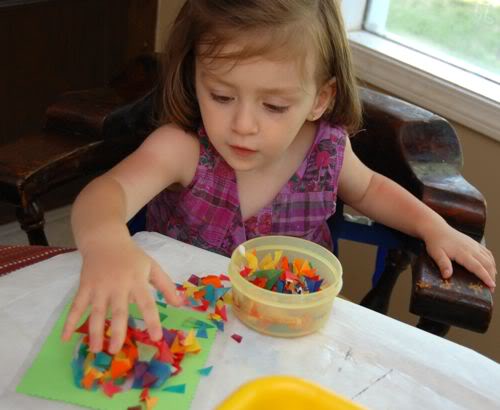
For Clara, this was a great exercise in letter-recognition and fine motor skills. She was so proud of her letters!
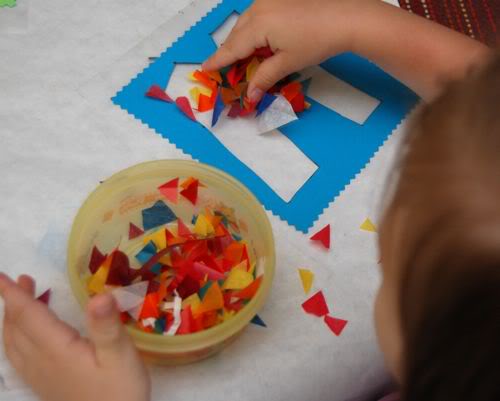
Emily thought the bright colors would make the plants feel as though our garden was one big fiesta!!
I added another sheet of clear contact paper sticky side down to sandwich the letters in-between. She used binder clips to attach the letters in the right order to a length of laundry line — great spelling practice and the binder clips helped challenge her pincher grasp too.
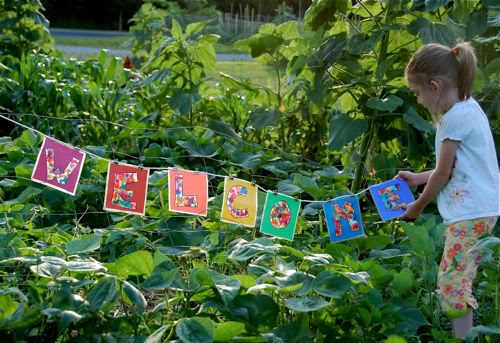
…and now our garden is starting to look a whole lot more colorful!
Those veggies will feel right at home with such a colorful banner. I can't believe that you are saving every scrap – you are truly a frugal family!
Excellent use of left over tissue paper! We just noticed some green strawberries in our garden – I wonder if a welcome banner would encourage them to go ahead and ripen? 🙂
@ Raising a Happy Child — Most of this confetti came from making bunches of tissue paper flowers. The scraps looked so pretty, I couldn't throw them out!
@ An Almost Unschooling Mom — Oh yes, I think so! It's been scientifically proven that gardens with welcome banners grow at least 25% more fruit and vegetables then those without. 😉
The banner came out perfect. It really looks cute in the garden.
I love the last photo, the banner came out great!
And I like the stats you wrote in the comments : )
What a great idea! That looks great!!!
@ Just Breathe — Thank you! I was thinking that for teachers it would make a nice classroom project for the first day of school. We might make another one for our foyer too!
Dear Valerie,
Now I have to start all over on my collection in my goal to create the world's largest ball of confetti.
Thanks.
Love,
Mark
I can not WAIT to try this! I am having an art theme birthday party for my daughter in the fall and this would be perfect! Thanks for the great idea. I will link back if we do it.
What a neat idea! I bet it grows extra happy veggies =)
Great Idea! I so want to try this but Name Banners for their bedrooms 🙂
That looks way too fun! I need to find a practical way to save all those scraps.
that is so pretty!
Fantastic!! looks very good and lots of fun to make!!!!
good use of scraps!
What a pretty sight. All the garden fairies must feel so honored. If it would just stop raining here I could consider giving this a go.
That is just beautiful, Valerie! I love it. Logan would love to make it. 🙂
Val
oo so cute!! Love the way it turned out!
This looks amazing. I am in great need for fun, inexpensive,meaningful activities for my family this summer. Thank you for sharing great ideas.
Kyle
http://www.montessoriforlearning.blogspot.com
@ brookie — I'm jealous of your art themed party!! Have fun!!
@ Philippa — Name banners would be so lovely! If you hang them in a window, the sun would shine right through them. Great idea!!
I love this.
Love, love, love this Valerie! (and LOL to Mark!)
I bet all the colourful letters attracts some useful bugs as well. Lovely project.
This is so creative! I always throw away my scraps! What about the rain?
Online Credit Score
How easy to make garden.Your blog bring many tips.i like it.
Beautiful. Is it waterproof? If not, how can you make it waterproof?
@ Abagail & Petula — The contact paper makes it waterproof. Have fun!!
Hi, hope its OK to contact you here. would love to include your blog on our giveaway blog network: Giveaway Scout (http://www.giveawayscout.com). Have a look and if interested drop us a line on our contact form (http://www.giveawayscout.com/contact/). thanks, Josh"
Hi, hope its OK to contact you here. would love to include your blog on our giveaway blog network: Giveaway Scout (http://www.giveawayscout.com). Have a look and if interested drop us a line on our contact form (http://www.giveawayscout.com/contact/). thanks, Josh"
Linked – it makes me a bit more cheerful just looking at the pics. :>)
I know what we are going to do today. Thank you for the inspiration!
that is absolutely gorgeous, what a great idea, cannot wait to make one, my girl will love this!!!
Thanks
We made this a few days ago as a birthday banner but instead of tissue paper we used ironed crayon shavings. Posting about it tomorrow and I linked back to you. THANKS for the idea.