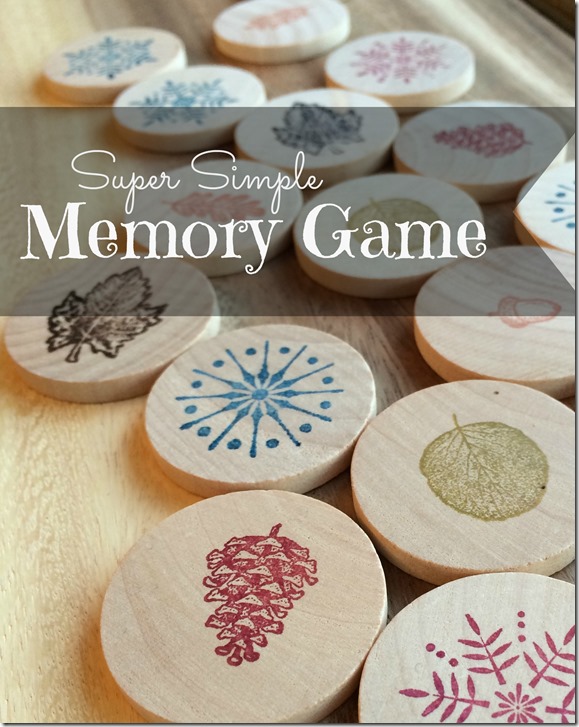
Toys that you make yourself can be the most rewarding gifts to give. This super simple memory game you can make for your toddler can make a perfect stocking stuffer for the youngest kid in your family. In this post, I will show you how to make your very own DIY memory game!
Each year, whoever the toddler is, will take the longest to open their gifts. They are truly “in the moment” creatures; playing with wrapping paper, wanting to put batteries in the new toy “RIGHT NOW”, and giggling for full minutes with glee after opening a gift they like.
For the sake of this post, I gave this game to my 3 year old today instead of saving it for his stocking. In true toddler fashion, he immediately wanted to play it and I decided to put off writing this and play a quick game of memory with my son. Ten minutes later, we were almost finished with the game and he was catching on to the matching. He made a match and squealed with glee — actually squealed! Then he called his big sister into the room so that he could show her the match he made. And in that moment, it was decided. This was the craft I was going to share with you today. I think it would make an great stocking stuffer for the toddler in your house and perhaps you can share in a bit of squealing with glee!
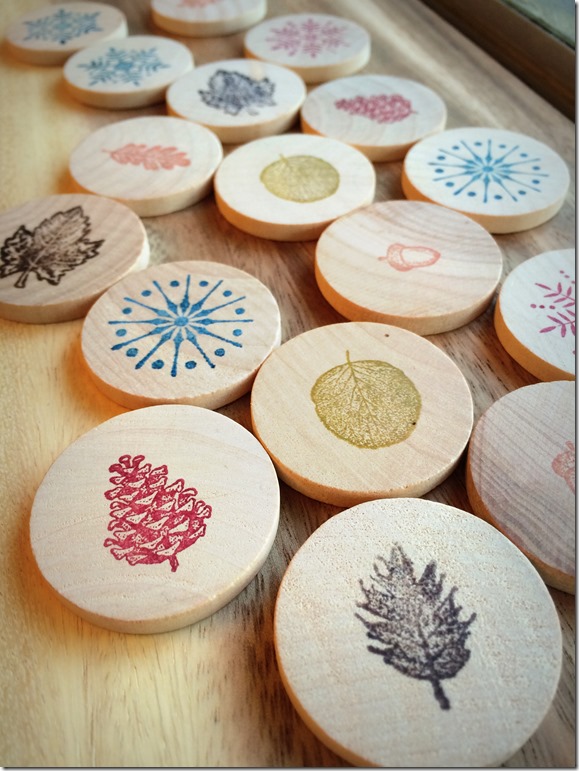
Wooden Round Memory Game
Supplies needed:
- 1 1/2 inch wooden rounds from the craft store
- 1 inch stamps (or smaller)
- stamp pads in various dark colors
- clear coat spray (available at hardware stores)
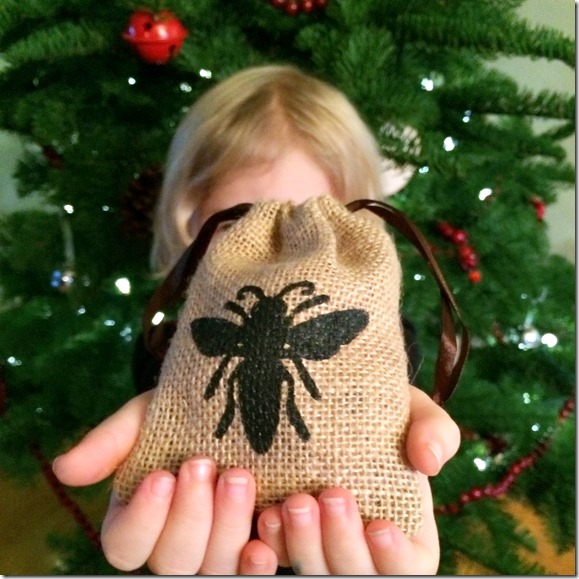
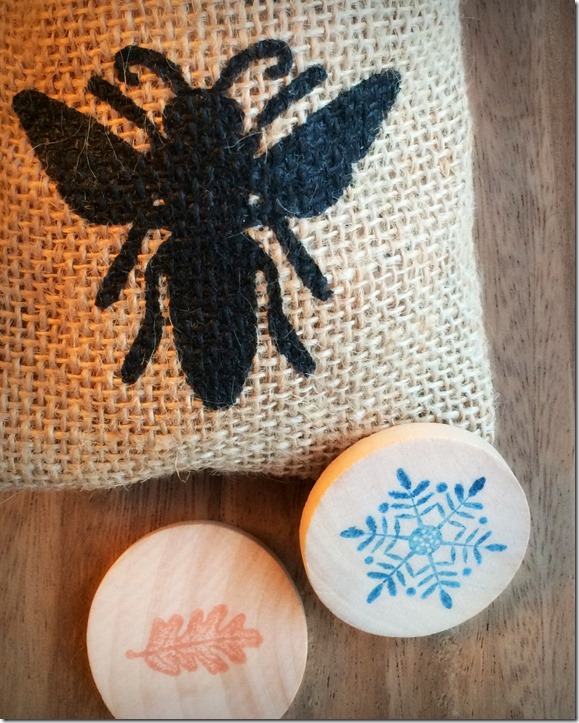
- Small bag to put your game in (I found mine at the craft store in the dollar section)
I chose 24 wooden rounds to make my game with 12 pairs. For the younger toddlers, perhaps less would work better.
I chose 12 stamps that were smaller than 1 inch and selected a few different dark stamp pads (I have quite a stamp collection after the thumb print obsession a few years back).
The rest was simple. I stamped the rounds with the stamps, careful to place the stamp in the center, and then let them dry. Then I took a clear coat waterproofing spray and sprayed them, and let this dry as well. That was it! It was so easy!
After they were completely dry, I checked to be sure it wouldn’t smudge… and by checked I mean my dog got ahold of one of them and was licking it (ewww!) and neither the stamp, nor the dog, was worse-for-wear afterwards. WIN!



Love this!