This handpainted gift idea is sure to delight any lucky recipient! This picture lift-the-flap book is fun and simple to make. Below you will find step by step instructions for making an art lift-the-flap book of your own!
It’s turning into my favorite season. A season of coming awake, becoming alive again, and renewal of all of the things I may have forgotten were important. Like art. Art is fundamentally important for me most of the year… but in the dank, dark winters, I forget. Sometimes, pampering myself just means sitting down in the middle of chaos to make some art for a beautiful child I know.
A funny thing happens when I do this. My kids ALWAYS join me. They are completely inspired by watching me do art. Every time, I find that I need to bring all the supplies out, because we are not only going to use mine, but a whole room full of art supplies for me and all 4 kids. Sometimes I need space, but I have found that they get so enthralled in their own projects that I can usually just do my own side-by-side with them and I can travel to my own little spring-filled world. Even the toddler finds his own messy world more interesting than distracting me from mine.
Making your own lift-the-flap pictures can be done easily with simple art supplies that you can find at your local arts and crafts store.
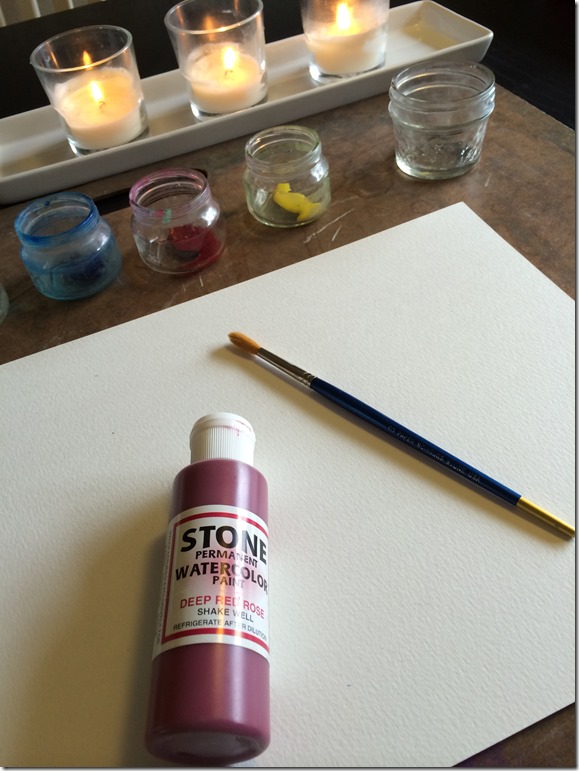
Things I used to make this one:
2 pieces of Watercolor paper (same size)
Watercolor concentrate or you can use watered down tempera paint
Jars for your paint
Jar of water
Watercolor board or protective surface for your painting
Brushes
exacto knife
glue
Idea for a ‘theme’ of your lift-a-flap picture
My theme was Spring! Spring as I see it out of my back window.
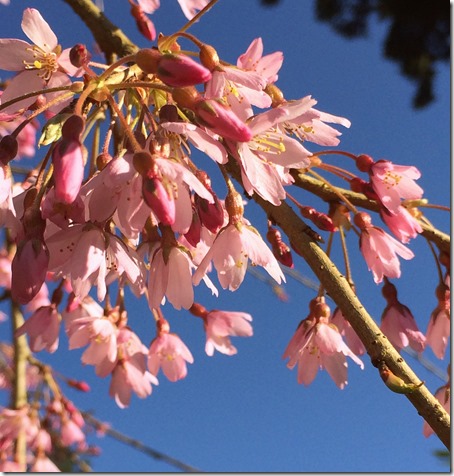
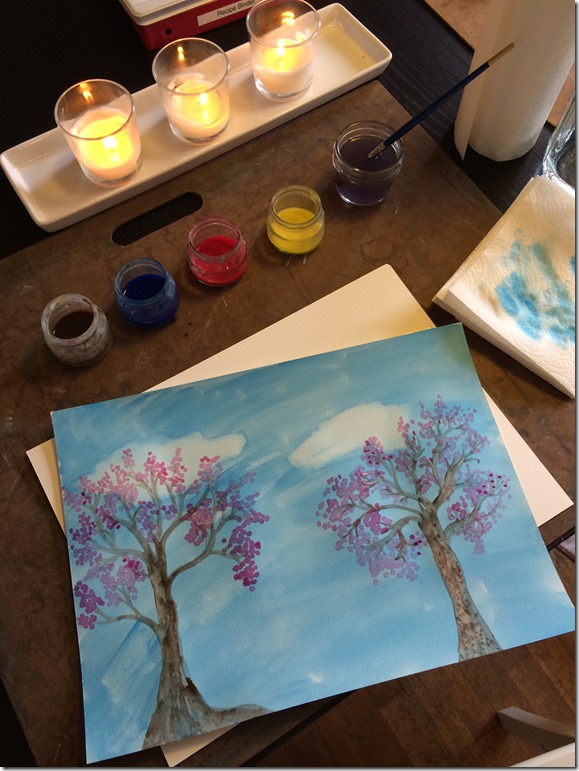
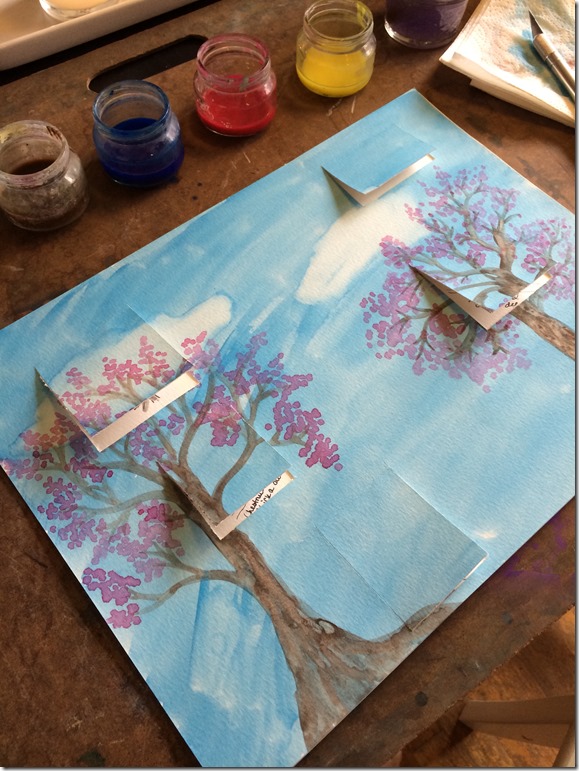
My cherry tree, in full bloom and the blue sky that has been SO scarce this winter I didn’t even remember what they looked like. This is what I came up with:
Simple cherry trees in full bloom and a blue sky with a few white puffy clouds (and not the dark rainclouds that are supposed to move in this afternoon. Boo!)
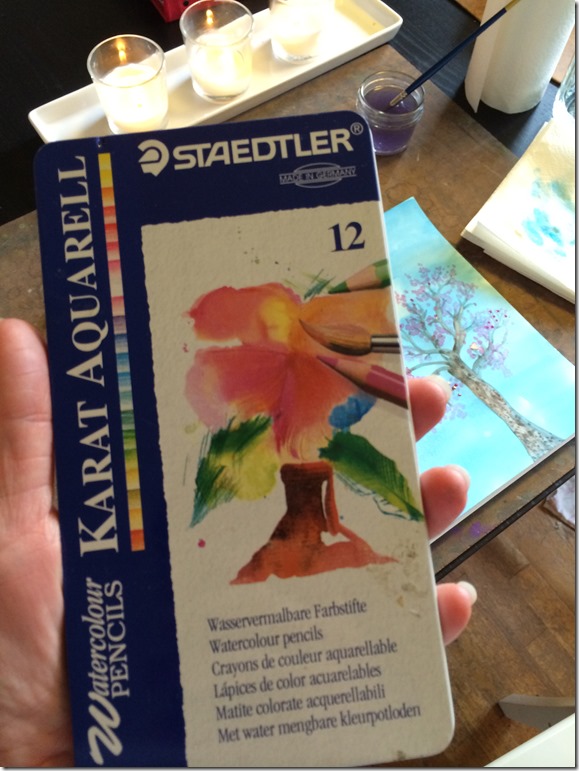
As I let this dry, I got another piece of watercolor paper and started sketching my spring creatures in the spaces where the trees and the sky would have them on a perfect spring day. After they were done I got out my favorite watercoloring tool, watercolor pencils!
If you are new to watercoloring, these are the easiest place to start. They make watercolor work more accurate and less messy, plus, you can use a sharpie to get the sketch you want and watercolor the color perfectly onto the sketch. The easiest way to do this is to sketch the creature first, then to color it in lightly with the pencil. Go over it with a damp paintbrush. Be sure your brush isn’t too wet. Once you get the feel of it, add more pencil where you think it is needed (even if the critter is still wet) and gently wipe it with the damp brush until you achieve the desired look.
Now comes the hard part… and I am SO sorry I do not have pictures of the first portion of this process. Retroactive pictures will have to do.
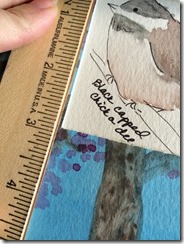
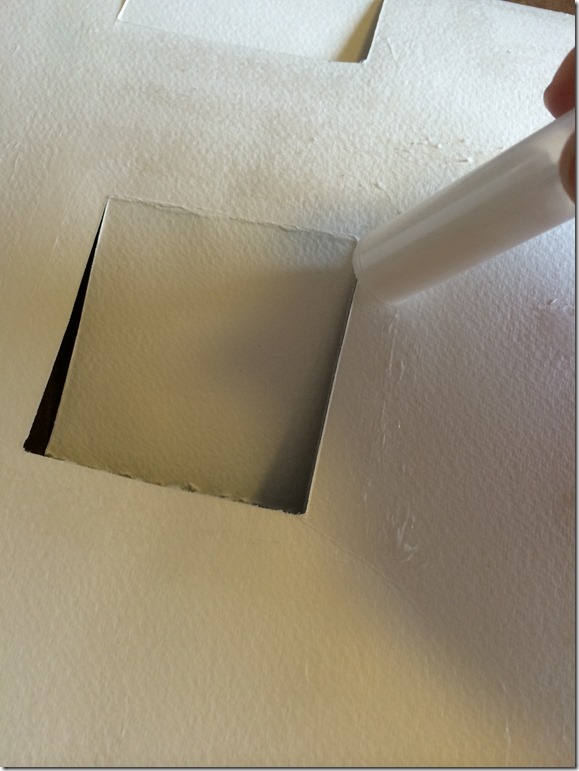
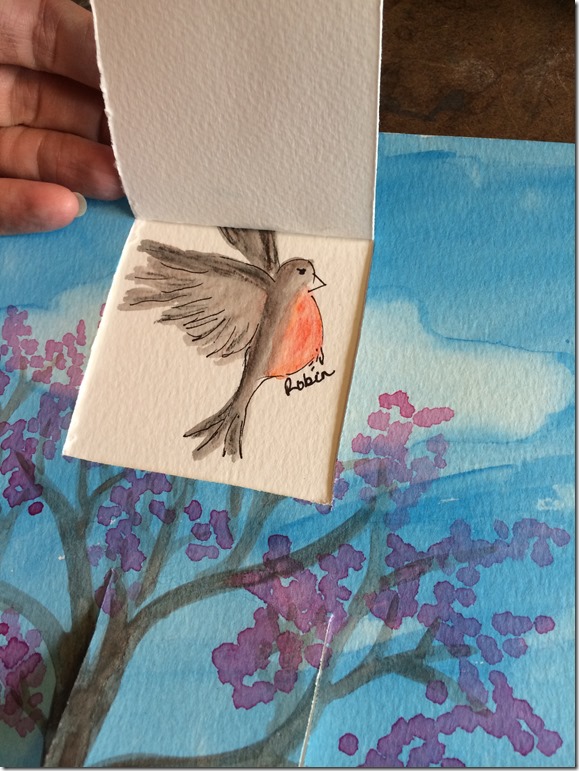
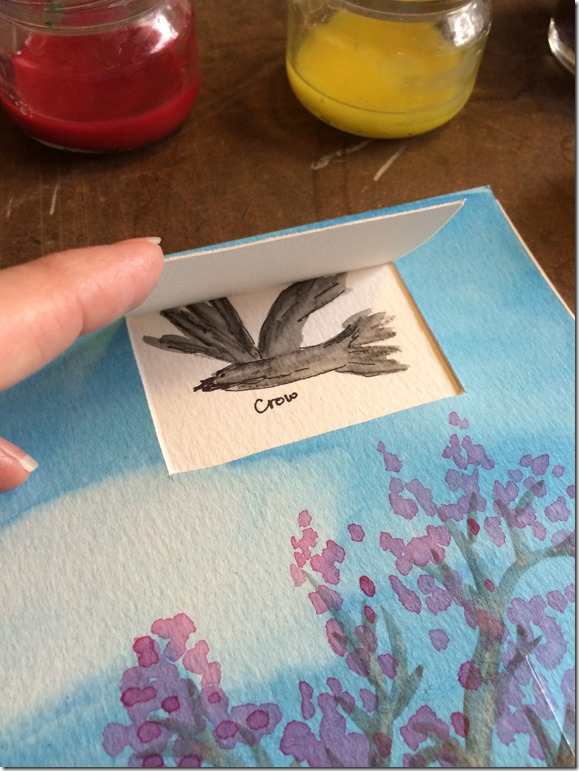
Measure how far from the side the picture is, then how far from the bottom. Then how tall the hole should be. Then I create the same spots on the back of the top painting. I cut through the top painting with an exacto knife on the sides and bottom, creating a lift-up window, like this:
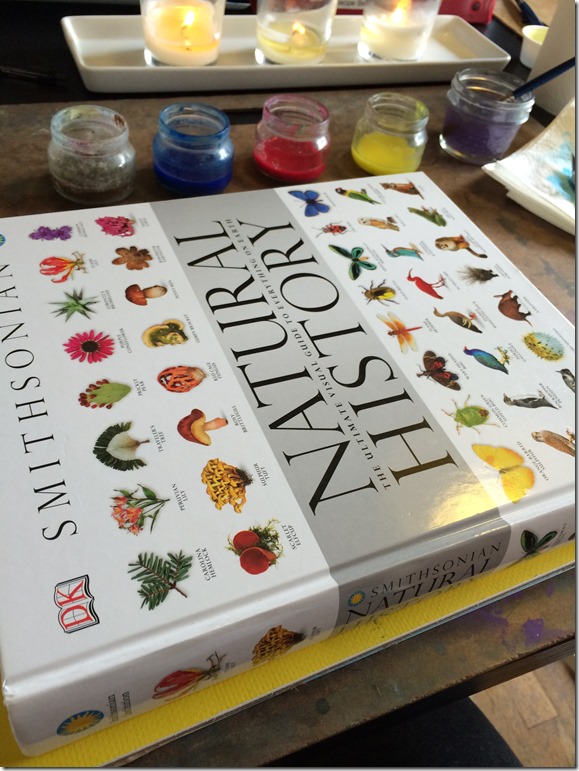
I place glue around the window, being careful to not get it on the flap, and then place the top painting over the bottom painting. If you are using watercolor paper, which is VERY thick, you will need some help making the entire picture stick as it should. For this, I employed a very large book. ![]()
About 15 minutes later, I came back to check on my work and it was flat and finished!
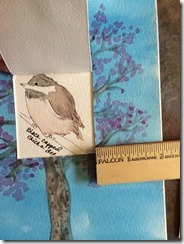
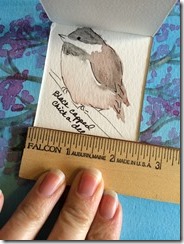
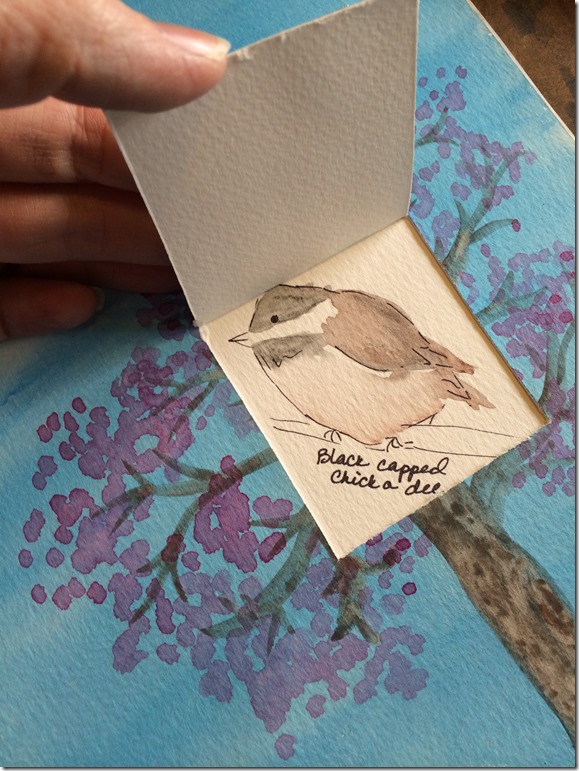
When you pick up the flaps, little spring critters are there to greet you!
I was careful with the coloring of the birds so they could be educational and also beautiful. This is the perfect gift for a toddler and I put it together with this sweet little Chickadee – Audubon Plush Bird (Authentic Bird Sound)’>Audubon’s plush bird that makes realistic bird calls!
I made some mistakes on these last two critters, but that’s ok. I try to live by the things I tell my children: “Art is not for perfection.” So if you have a theme or a vision, follow it through to the end. Even if your pictures are not perfect, the overall gift will be just beautiful.
What are some of your favorite art gifts to make?
