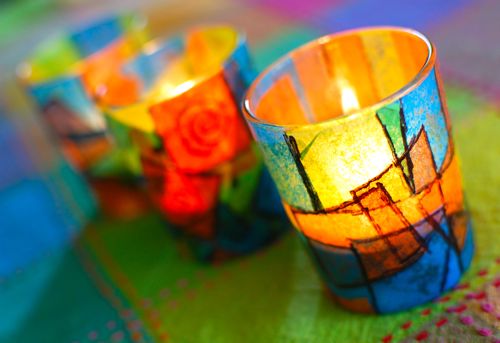
I invited Clara to join me with a fun lantern project inspired by the art of Frank Lloyd Wright! These colorful votive holders were fun & easy to make — they would be perfect Mother’s Day gifts!!
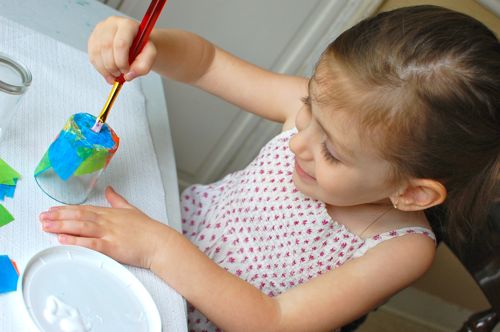
We cut up pieces of colorful tissue paper into 1 inch squares, and Clara attached them to the outside of the votive using Elmer’s glue and a paint brush. As always, be sure to supervise the kiddos carefully while crafting. You can find cases of clear votive holders on Amazon, in the wedding section of the craft store, or baby food jars would work very nicely for this as well!
Once the glue had completely dried, I added details with a black permanent marker to outline the squares. There were lots of “oohs and ahhs” when Clara saw how pretty these turned out!!
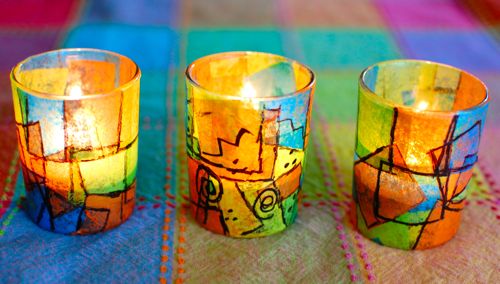 Besides Mother’s Day, they would make great decor for Cinco de Mayo!! Bright, colorful, festive and frugal!!
Frank Lloyd Wright, eat your heart out! 😉
Have fun!!





Very nice, for either occasion!
Those are really cute! Love the addition of the black marker!
Dear Valerie,
You do realize that I am now thinking about Zombie Frank Lloyd Wright eating hearts.. and BRAINS 😉
Love,
Mark
Are you applying the tissue on the outside of the jar or the inside? Reading your instructions, I assume to glue the tissue scraps on the outside, but the first picture looks like Clara is putting them on the inside. Thanks!
On the outside of the jar — I’ll update the post, thanks Rebecca! She’s applying it to the bottom of the votive in the photo. 🙂
Thanks for the clarification, Valerie. Now that top picture makes sense! I love how doable this project is!
Very nice! I think we’ll be making them at some point – they look so colorful.
Ooohhhh, maybe we’ll do this tomorrow.
Love these! They came out so cute.
Ahhhhh- just lovely…
Beautiful! What lovely candles to light up Mother’s Day (or any day!)!
these are so wonderful!!!
Ohhh! Those turned out great! Love it! We did something similar but with cardstock on glass.
Beautiful!
Very, very pretty!!!
These are great! We used to do mock stained-glass windows at the Allentown Art Museum with students using this technique. Luckily we had actual FLW windows to base them off of! I’ll definitely be making some of these with my son.
These are very pretty! It’s amazing how the black outline transforms them into something really special! Thank you for sharing!
They came out so pretty! I like it. I might try this but what kind of tissue did you use? Just any colored ones?
Hi Mae! We used leftover regular gift tissue — Have fun!! 🙂
Jeez, you have got some really cool projects on here. 🙂
I love this! What a great idea! I featured you as one of my five favorite finds for the week on my blog. Check it out and pick up a button if you’d like! Thanks for sharing this awesome project!
http://copy-cat-crafter.blogspot.com/2011/05/five-favorite-finds_14.html
Hi! I just started doing a variant of this project with my three year old twins. We are going to use the finished products as the centerpieces for my wedding next month, I thought you might like to see them:
http://www.flickr.com/photos/mommafoofoo/5819219190/
Thanks for such great ideas!