The beginning of Autumn also happens to be the start of the “birthday season” for our little family, so we continued with our frugal and FUN Fall wrapping paper tradition!
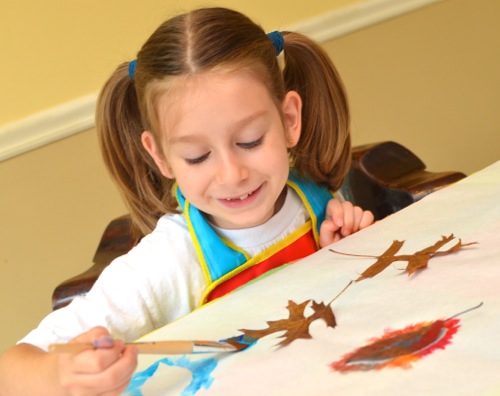
Emily gathered several leaves from the yard — lots of different sizes and shapes for variety! We used masking tape to secure them to a long sheet of freezer paper.
She could not wait to start painting over them! Use washable paint, and a dry paintbrush (no water, except to switch between colors). Once I showed her how to paint starting on top of the leaf and to work the paint away from the edge of the leaf, she took off on her own!
Clara’s wrapping paper was a teensy bit messier, and featured ALL PURPLE, but was TOTALLY worth it to see her happy smiles!! (I pink-puffy heart washable paint!)
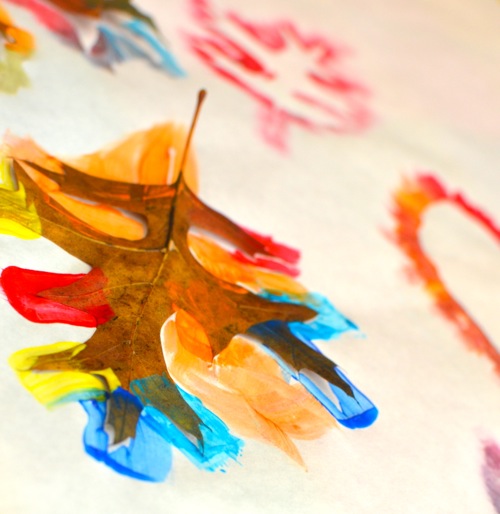
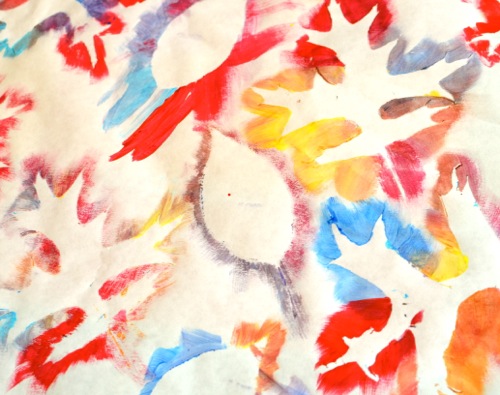
I LOVE all the different colors Emily chose for her wrapping paper! Remember to work the paint starting on top of the leaf and work it outward. Once the leaves are outlined with paint, carefully peel off the leaf for a fun reveal, and move to a different spot to paint over it again (and again)!
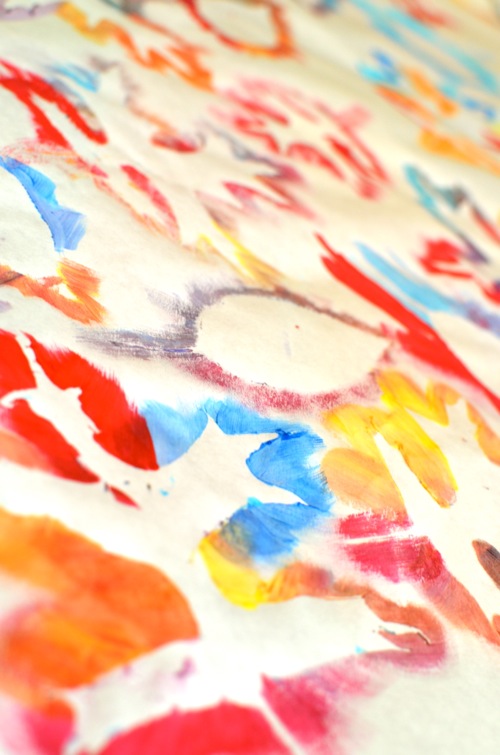
This little project kept the girls happily occupied for a looooong time, and I love how pretty it turned out!
Lots of fun with this one, and super-frugal! I just LOVE this time of year, don’t you?? To see last year’s wrapping paper project, click here.
Have fun!!