Tutorial — Apple Printed Lunch Sack from Old Jeans
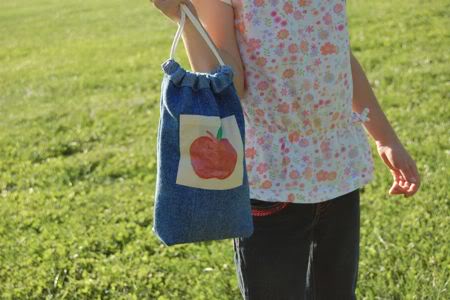
We are still finding new uses for that box of old jeans from my dad. They make great drawstring lunch sacks! My sewing machine is by no means heavy-duty, but it didn’t have any problems sewing through two layers of denim.
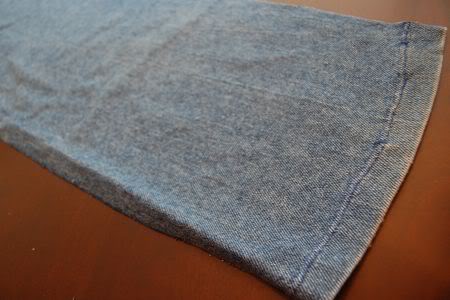
To make your own lunch sack from an old pair of jeans, cut off one of the legs and cut down the seam to make a single layer of denim. Now, trim the edges to make them nice and even. You should end up with a piece of denim about 7″ x 22″.
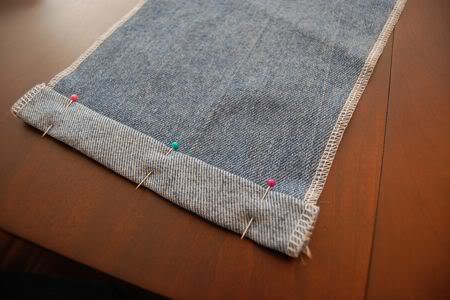
I ran the two long seams through the serger, but you can use a zig zag stitch on a regular sewing machine instead. Next, roll the top and bottom hems over 1/2″, then another 1/2″. Pin into place, and top stitch along the edge. This is the casing for the drawstring.
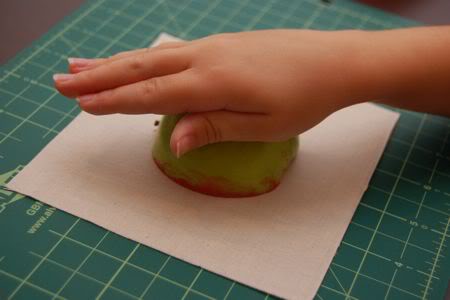
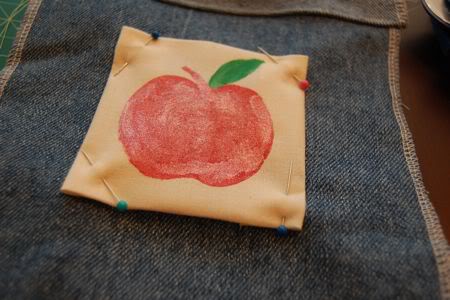
Now, use an apple and some fabric paint to make a print on a piece of light-colored fabric. Allow to dry. We used a potato stamper in the shape of a leaf for the leaf-print.
Fold the edges of the apple print and pin into place on the lunch sack.
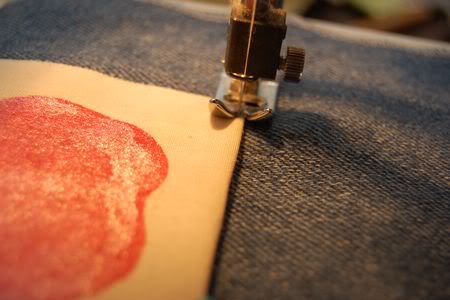
Use a zig-zag stitch on all four sides to attach the apple print.
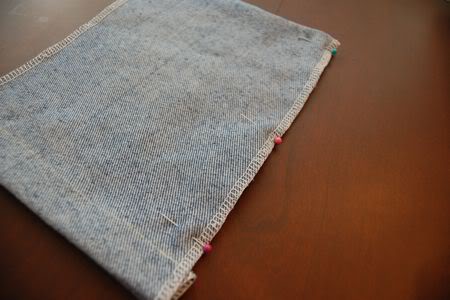
Fold the fabric in half so the right sides are facing, as shown. Pin along the side seams. Stitch the side seam by starting at the bottom of the bag and finishing just before the drawstring casing. Stitch along the sides twice, so the bag holds up against a year’s worth of school abuse!
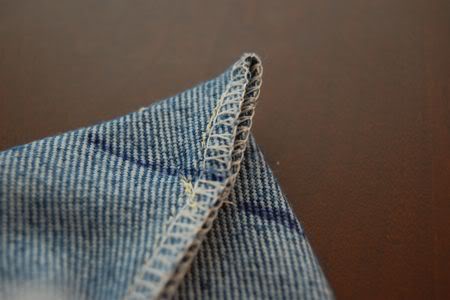
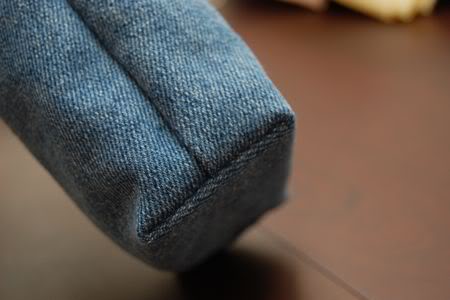
With the bag still inside out, open up the corners and mark 1″ from the corner as shown. This will be for the flat-bottom of the bag. Stitch along this line.
Pull the bag right-side out and the bottom corners should look like this!
Add your drawstring by attaching a safety pin to some leftover laundry line and threading it a little at a time through the drawstring casing.
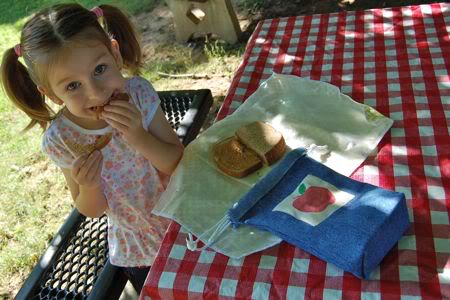
Lunch is starting to look a whole lot better!