I’m getting ready to start the homeschool year with my rising first grader and preschooler. I really needed a quick and engaging activity to keep the baby occupied for a few minutes while I assist my daughters with their schoolwork. These simple discovery bottles were the way to go! I already had all the materials I needed, they are so easy to put together and are ready to play with instantly. The key to these discovery bottles is that they only take a couple items per bottle (water is the common factor) and there is something fun to discover about each of them!
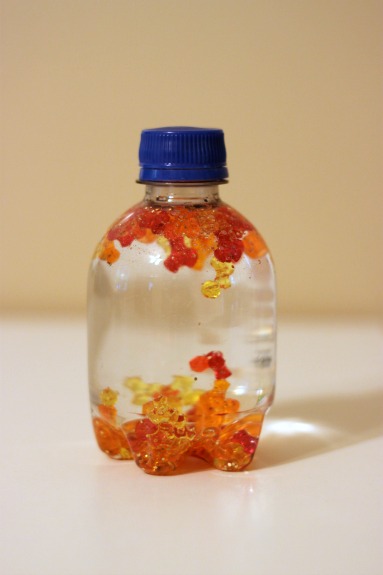
Some of the beads sink in the water and some of them float. If you shake the bottle it sounds like a maraca. If you hold the bottle up to the light the beads glow. Add glitter for even more sparkle!
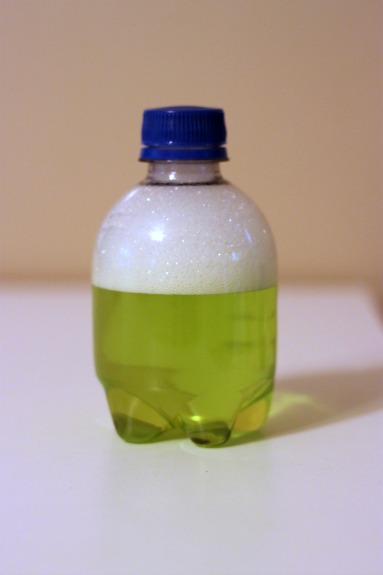
I haven’t met a kid yet that doesn’t love bubbles. Fill the bottle half way up with water and add a few squirts of dish soap (add a drop of food coloring if desired). Screw the cap on and shake it up. The whole bottle will fill up with foamy white bubbles! The bubbles will eventually settle and you can shake it up again and again.
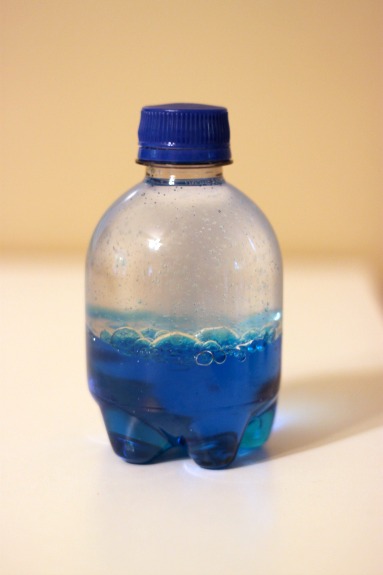
Fill the bottle half way with water and half way with oil, I used baby oil because I like how clear it is. The water and oil will not mix and the water will form bubbles in the oil when shaken. Shake the bottle all you want, the water and oil will not mix and will always separate!
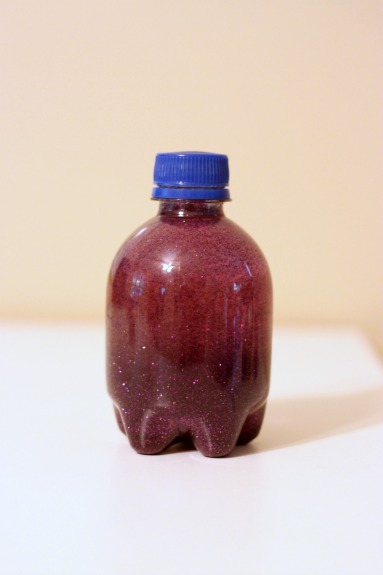
Squirt as much glue as you’d like into your bottle, the more glue used the slower the glitter will sink to the bottom. Add a bit of hot water to the bottle and shake it up so the glue mixes in with the water, add the glitter and then fill the bottle the rest of the way up with water. When you shake the bottle up, the glitter will swirl around and slowly sink to the bottom. It can be quite calming to watch. I added a drop of purple coloring to the water to match the glitter.
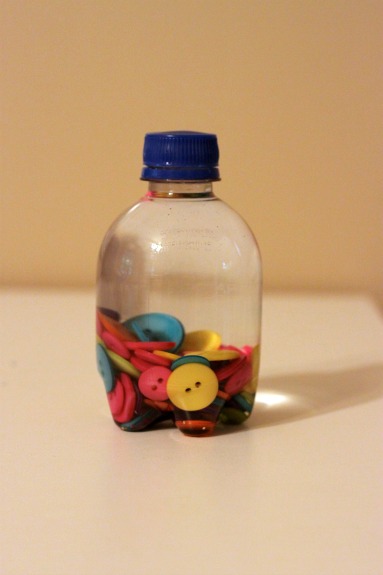
We had colorful plastic buttons in our art supplies but anything that sinks will work. Looking through the side of the bottle magnifies the buttons, they roll around slowly, they’re bright and colorful to look at, and they make a fun clicking sound when you shake the bottle.
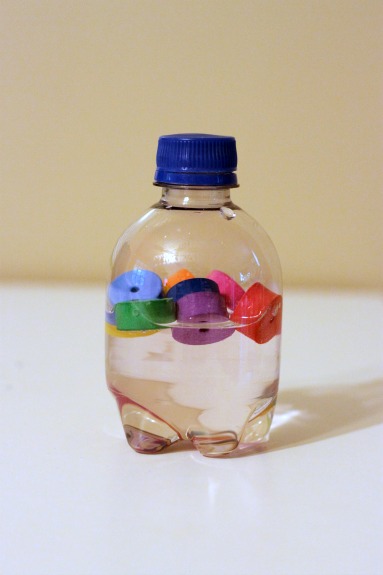
Fill the bottle half way with water and add foam shapes to the bottle. The shapes float on top of the water no matter how the bottle is held. Sometimes the foam shapes will stick to the sides on the top half of the bottle. You can use any foam shapes, they’ll all float. I used all circles for this bottle but in rainbow colors, the girls enjoy talking about the colors of the foam to the baby. You could easily make the foam shapes all the same color but different shapes and play an ISpy type game.
At 3 months old, the baby already loves his discovery bottles and I know that the older he gets the more he will play with them, even my 4 and 6 year old like playing with the bottles!
I recommend rinsing any items you plan on adding to your bottles. I have made discovery bottles without rinsing first and the water can get cloudy and dingy looking. Once you have your discovery bottle the way you like it hot glue the lid onto the bottle or cover the lid with tape to keep your little ones from opening it. Get creative with the items you put in your bottle and have fun watching your baby discover!