It is very rare that we feature a project here on Inner Child Fun that requires a trip to the art store, however this is the MOST requested project Emily has asked to do during Clara’s nap time. Suminagashi has kept Emily happily creating beautiful prints for hours!! Here are some tips for trying Suminagashi for kids.
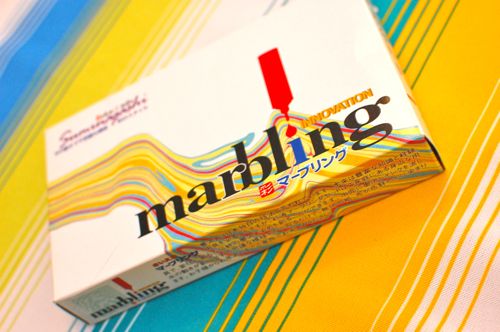
Suminagashi is an ancient Japanese technique for decorating paper with inks. You can learn more about this technique here. We first discovered Suminagashi last Summer during a trip to the art store, and now almost a full year later it has been repeated many many times with much success! To begin, you will need a box of marbling paints — we love the Suminagashi Marbling Kit
….
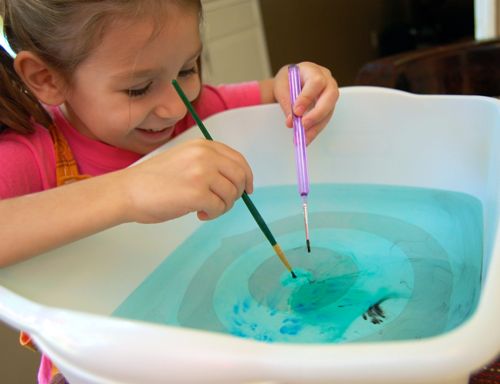
Next, you will need a dishpan filled with plain ol’ water about 2 inches deep, a few paint brushes and either a plastic or styrofoam egg carton to hold a few drops of the ink used to load up the brushes.
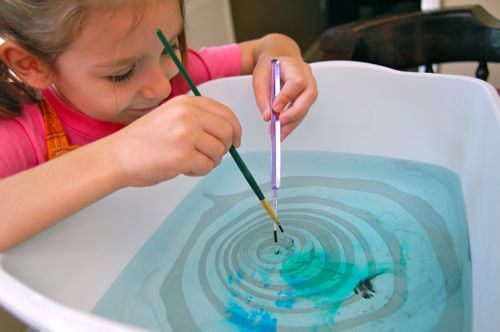
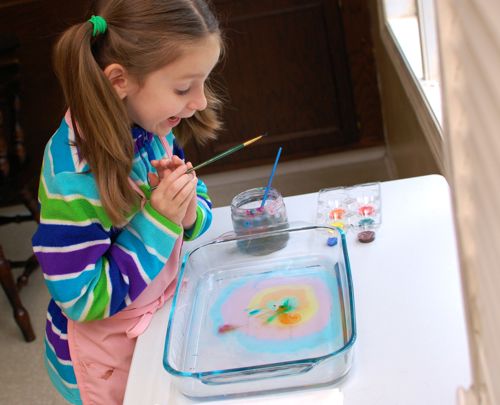
Emily used two brushes for each print. Load up your brushes and carefully tap the surface of the water with ink. It will instantly spread like magic!! Emily loved making concentric circles by alternating with each brush in the middle of the inner most circle. These photos were from last August…
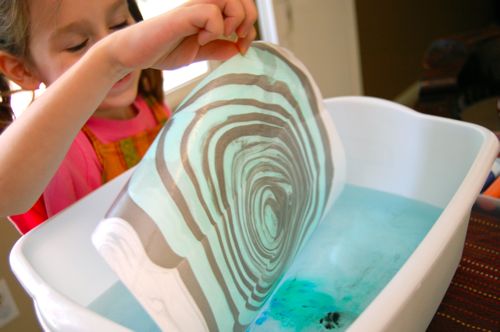
She can be completely mesmerized by this!! Continue with your pattern, and when you’re ready, place a sheet of cardstock or paper on top….
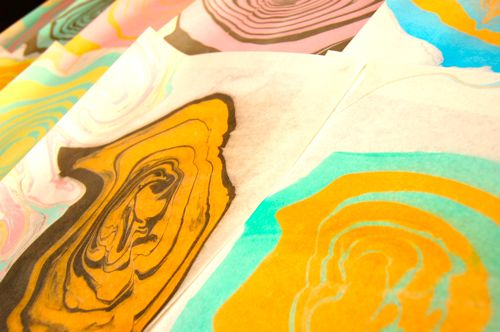
Lift it up to reveal your beautiful (and very unique) design!
Experiment further by blowing gently on the surface of the water either directly, or with a straw. Maybe use the opposite end of the paintbrush to swirl the ink around…. So pretty!! ALL of these were made by Emily in one afternoon…..
And this was the scene in our kitchen today…. It just never gets old, right??
I made a short video demonstrating the process:
Ooooooooooo……
Have fun!!
*This post contains affiliate links.
Please sign up for our weekly-ish newsletter (it’s free!) and after signing up, you’ll be sent a link to a free printable list of 100 Rainy Day Activities for Kids — exclusively for our lovely newsletter subscribers! To sign up, click here.