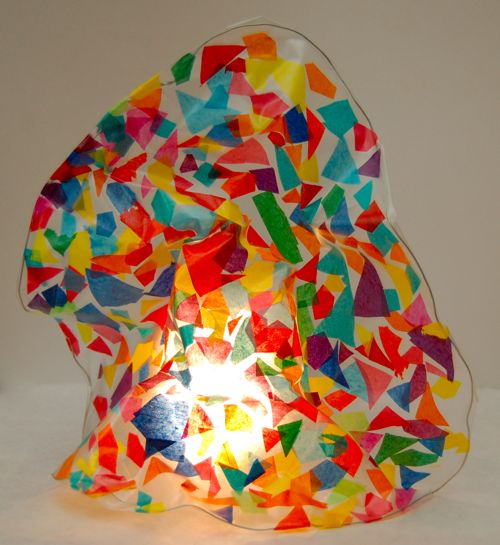
The neat thing about this beautiful “glass” sculpture is that it is flexible and can be re-shaped again and again! Emily was so proud of her sculpture, and they are simple and frugal to make using materials you probably already have on-hand.
I used wired cutters to cut a long piece of thin gauge wire
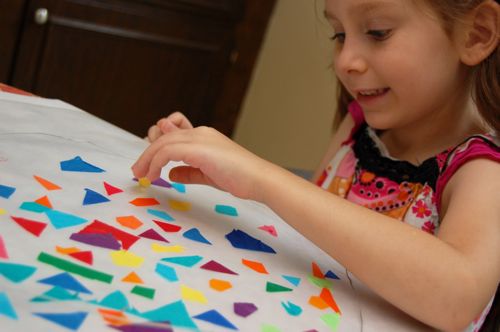
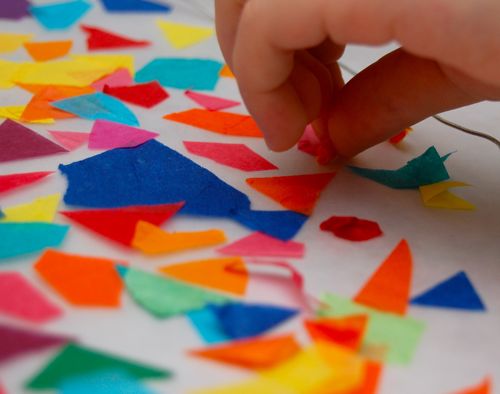
Emily spent a long time sprinkling bits of bright colored tissue paper
She didn’t need any encouragement from me to cover the entire circle!
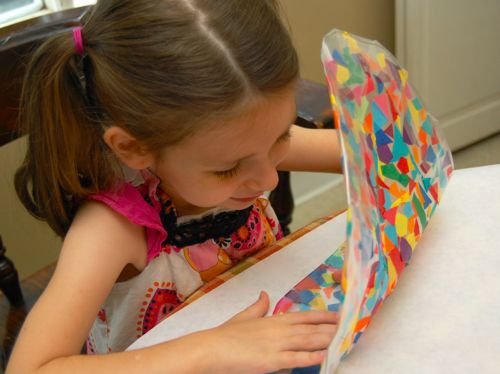
When she was done with that, I trimmed about a 2 inch border around the wire, and made slits every 3 inches or so to wrap the contact paper around the wire as shown.
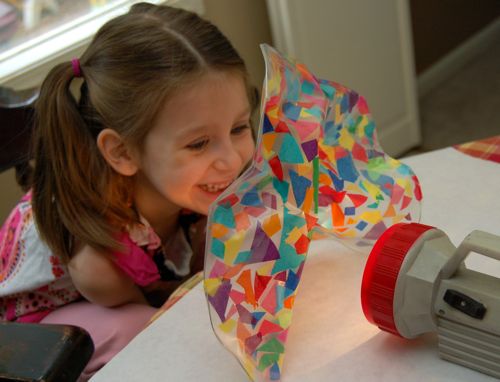
Arrange your sculpture any way you like!! Like most sculpture projects, this is a fun hands-on way for kids to learn about form and balance.
They look even prettier with a flashlight shining through!
Try re-shaping your sculpture to make different works of art over and over!
Added bonus — very little clean-up!
Have fun!!
I linked this post to:
Frugal Fridays @ Life As Mom
Weekend Wrap Up @ Tatertots and Jello
Made by You Mondays @ Skip to My Lou
Get Your Craft On @ Today’s Creative Blog
Disclosure: This post contains affiliate links. Thank you for supporting us!