Kid-Made Stuffed Toys
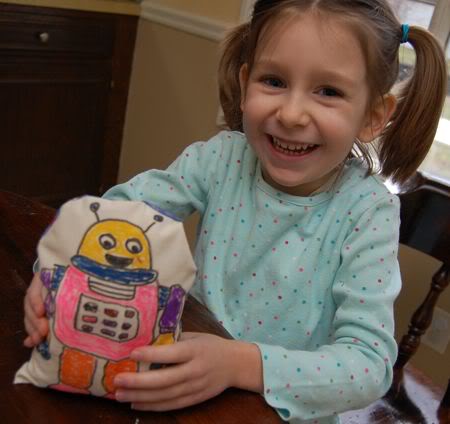
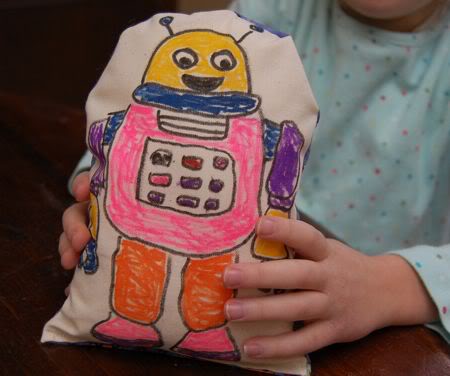
I helped Emily make this cute stuffed robot toy this afternoon, and if you have some fabric scraps, stuffing, and a some fabric markers, you can make your own stuffed toy using this technique too!
Emily was so proud to have made this toy, and plans are in the works for a home for our new robot friend, as well as other stuffed toys for gifts. You know how it is… one project, leading to another… and another!
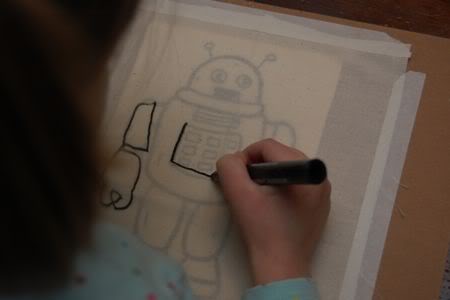
First, we printed out an image we wanted to use. In this case, a robot image found at
this free coloring page site. They have lots of other images available too! Emily traced the image onto fabric using fabric markers. We used masking tape to keep the pictures from shifting.
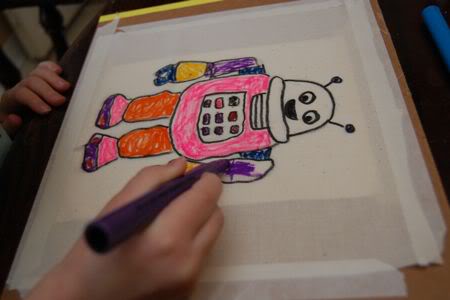
Color in your image with the fabric markers, and choose a contrasting fabric for the backing of your stuffed toy. I did a tiny bit of sewing. With right sides together, sew up the side, top, and down the other side, leaving an opening at the bottom.
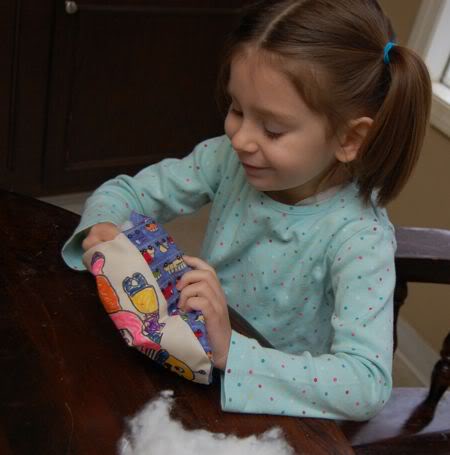
Stuff your new toy, (Emily loved this part!) and stitch up the bottom.