Beautiful Autumn Leaf Garland
We thought the dining room (aka sewing studio) could use some decorating this season, so Emily gathered up some leaves earlier in the day and we got to work on this beautiful garland for some late night crafting.
Emily had been begging me to do the waxed paper leaf collage for a long time, but I don’t know… it seemed kinda… *yawn*. Boring. But, when we thought of this project, we both got so excited about it.
The garland turned out even better than I had anticipated, and we had so much fun putting it together! From start to finish, it took about five minutes.
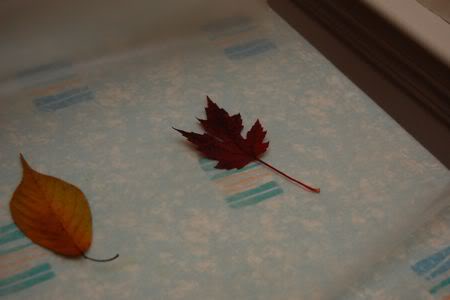
To make your own Autumn leaf garland, you will need some leaves, waxed paper, and a sewing machine or serger (you may call this an over-lock machine). Begin by laying down your leaves on top of some waxed paper. It helps if the leaves have been pressed first for a few days, but if you are particularly impatient (as my five year old sometimes is…. ahem) that isn’t necessary.
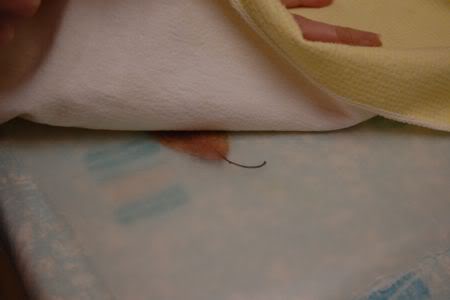
Sandwich the leaves between two sheets of waxed paper, as shown. Be sure to have plenty of space between the leaves.
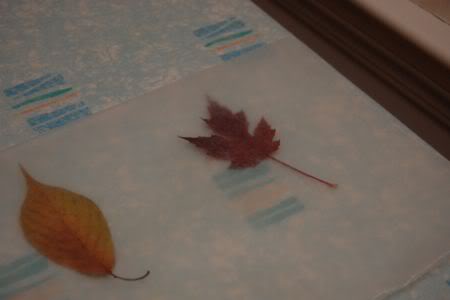
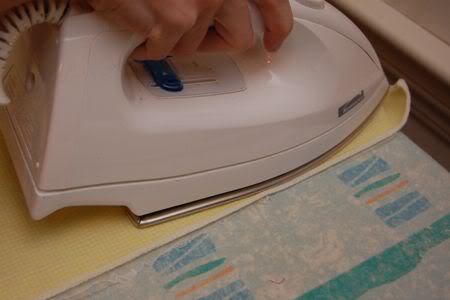
Use a cloth to cover over the top….
…now iron until the wax paper melts together.
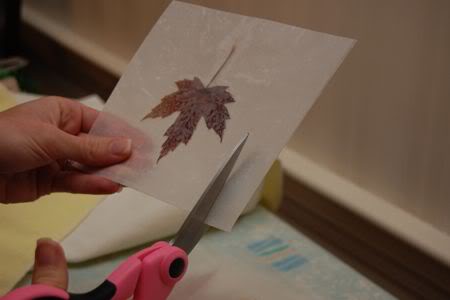
Trim the edges as shown.
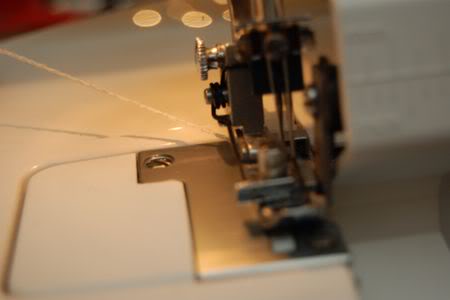
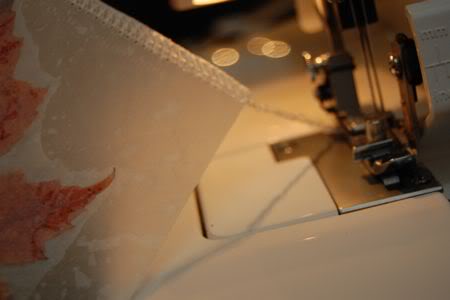
Using your serger, or sewing machine, start with a tail of thread about 4 inches long.
Stitch through the top of the leaf square, and continue with just the thread for another four inches, stitch through the top of another leaf square. Repeat this step until all the leaves have been stitched to make a garland.
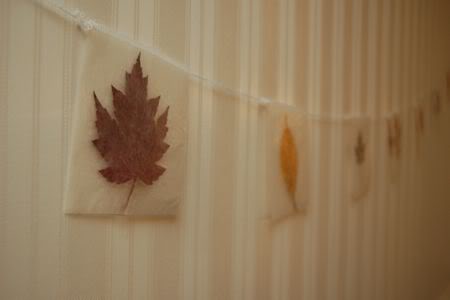
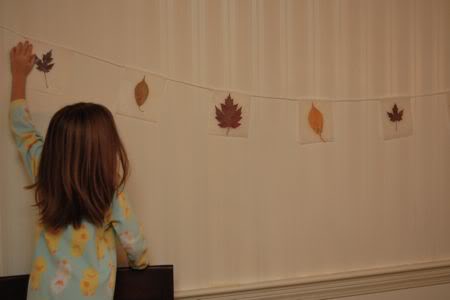
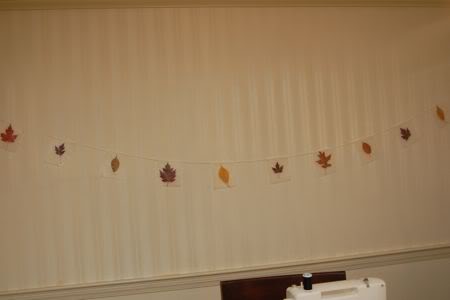
Hang proudly for all to see!
I think Clara approves of our taste in home decor, don’t you?