Marbled Sunset Painting
While the sun was setting behind us, I thought Emily would like to paint a picture of a sunset. I wanted to use a technique that would be easy for her, but give great results. This one was a hit!
To make your own marbled sunset painting, you will need: shaving cream (very inexpensive, make sure it is foam NOT gel), a piece of cardboard, paint (we used acrylics), a paintbrush, baking sheet, and some heavy-weight paper.
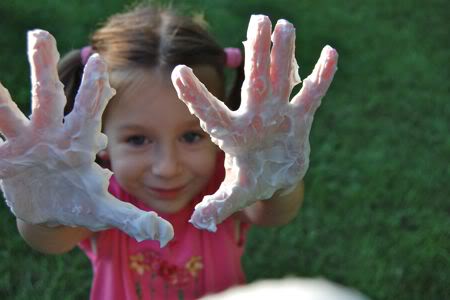
I had no problem coaxing Emily into spreading the shaving cream on the baking sheet. She loved this part!
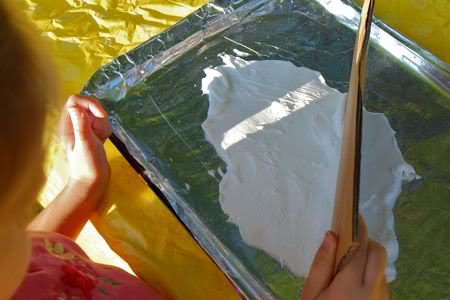
Use a piece of cardboard to spread the shaving cream into a thick layer.
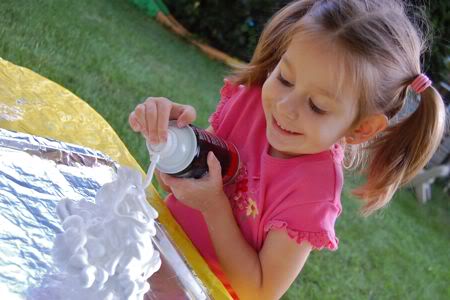
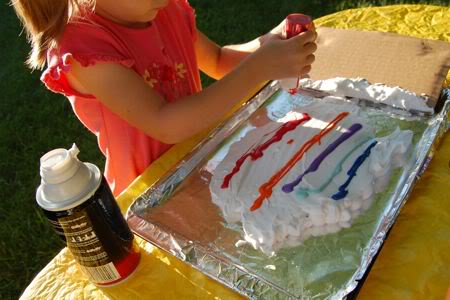
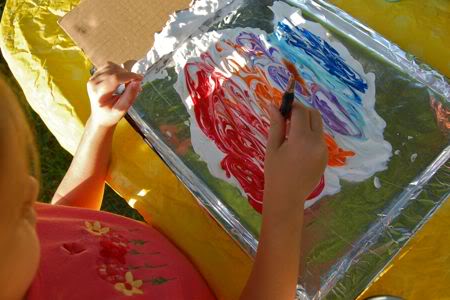
Now, add the paint! Since we were making a sunset picture, we used lots of blues, purples, oranges, and reds.
With the opposite end of a paint brush, swirl the paint through the shaving cream with back and forth motions (left to right).
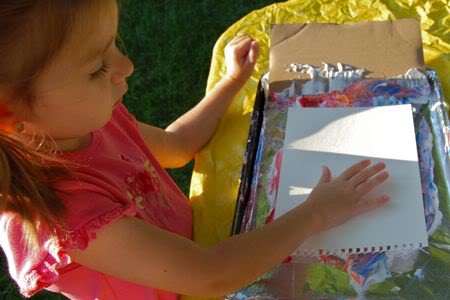
Lay the heavy-weight paper on top of the shaving cream and press down lightly.
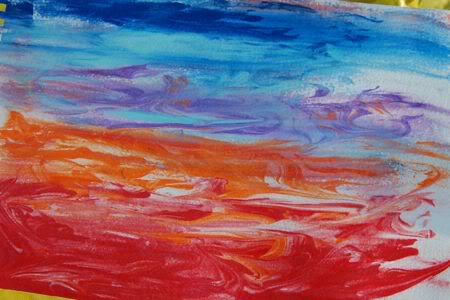
Lift up the paper, scrape off the shaving cream, and reveal your beautiful sunset picture!
Emily went on to make several more prints… including marbled paintings of the ocean and wind with the blues and purples. She was so proud of herself!
For a different marbled paper technique we’ve tried before (and loved!), click
here.