Easy Apple Printed Book Covers from a Paper Bag
One of the first homework assignments many kids need to complete is to cover their books. Why not have a little fun doing it? Using some paint, a brown paper bag or freezer paper, an apple, and a potato, you can make beautiful book covers! I see book covers at office supply stores all the time, but it’s so much for fun (and less expensive) to make your own. It doesn’t get any more frugal than an apple and a brown paper bag!!
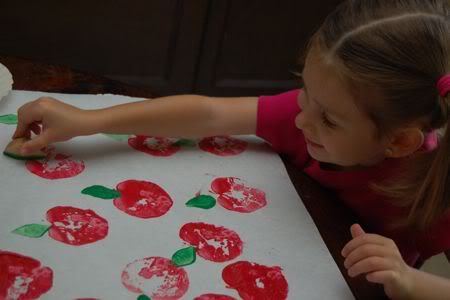
First, cut an apple in half to use as a stamper. Emily dipped the apple stamper in some red paint and then stamped the design on the paper.
Next, cut a leaf shape stamp from a potato. Your child can add green leaves to the apples they already stamped.
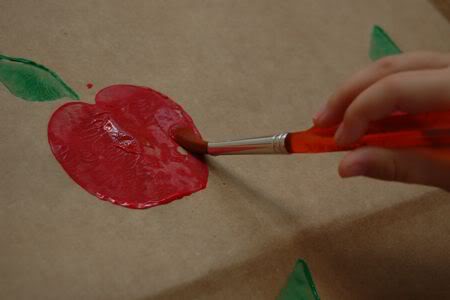
Using a paint brush, fill in any spots with a little more paint. Emily was so pleased with how her book cover was starting to look! Allow the paint to dry completely. Now it’s time to cover the book!
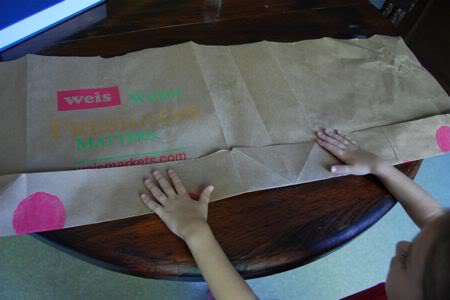
With the apple-printed side down, fold the bottom edge of the bag over about 3 inches.
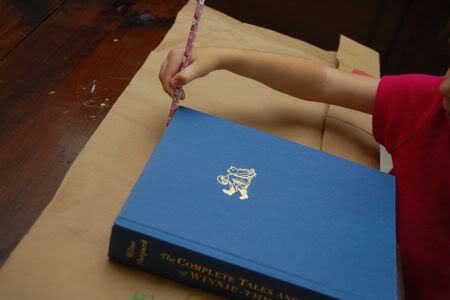
Lay your book to be covered on top of the bag and mark the top of it with a pencil.
Using your pencil mark as a guide, fold the top edge to make a sleeve for the book cover.
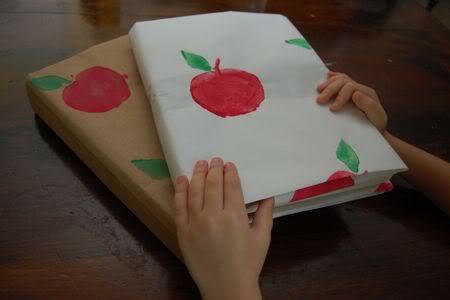
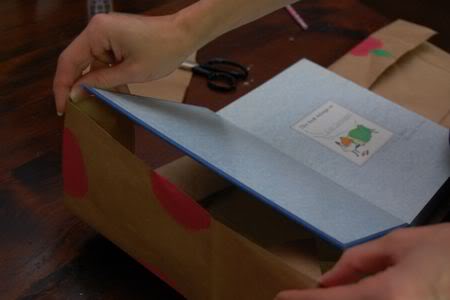
Insert the front cover of the book into the sleeve. Repeat with the back cover. You may need to trim your bag a bit, depending on the size of the book.
… and you’re done! Have fun!!