Tutorial — Handmade Pinwheels
Another wet day here, but we had a tiny bit of time when we could go outside and run around with our newly made pinwheels. I have been meaning to make these for awhile to use in the garden as a way to keep the birds away. Emily needed a little help to make hers, but for the most part, she did well on her own.
To make your own pinwheel, you will need: a sheet of paper (we used a 12 inch square sheet of paper, but about 8 1/2″ square would have been ideal), a dowel rod, some thin gauge wire, two pony beads, a hole puncher, a pencil, and a pair of scissors.
If your paper is not already square, cut it so it is. Mark the middle point of the paper and draw diagonals as shown. This gave Emily some good practice using the ruler as a straight-edge.
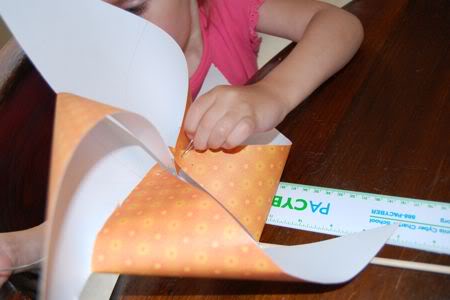
Using scissors, cut the diagonals about half way up to the center.
Bend every other corner in towards the center. Punch a hole in the tip of each corner that is bent inwards. Poke a hole through the middle point of the pinwheel also. Cut a 12″ length of thin gauge wire, and fold in half. Lace a pony bead on the thin-gauge wire as shown.
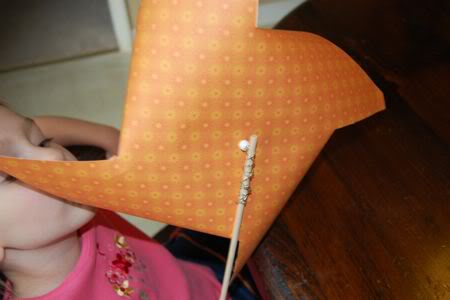
Thread the wire though the pinwheel as shown.
Add another pony bead to the back of the pinwheel and wrap the remaining wire around the dowel rod as shown.
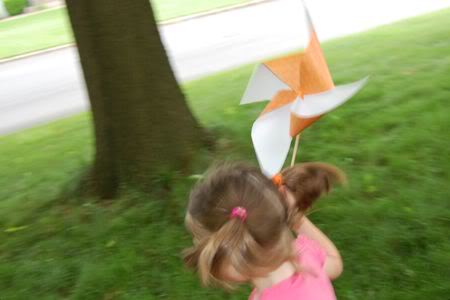
Run around and enjoy your handmade pinwheel!